Introduction to Audacity
- Starting Out With Audacity
- Recording Audio
- Importing Existing Audio
- Editing Audio
- Saving Your Project and Exporting Audio
- Final Notes
Starting Out With Audacity
Audacity is a multi-platform free open source audio recorder and editor useful in many different applications. Its flexibility and price tag makes it a preferred audio editor to many. Audacity can be downloaded from the official website. Please bear in mind that the following images may appear different to you depending on your operating system and the version of Audacity you have installed.
Navigating Audacity
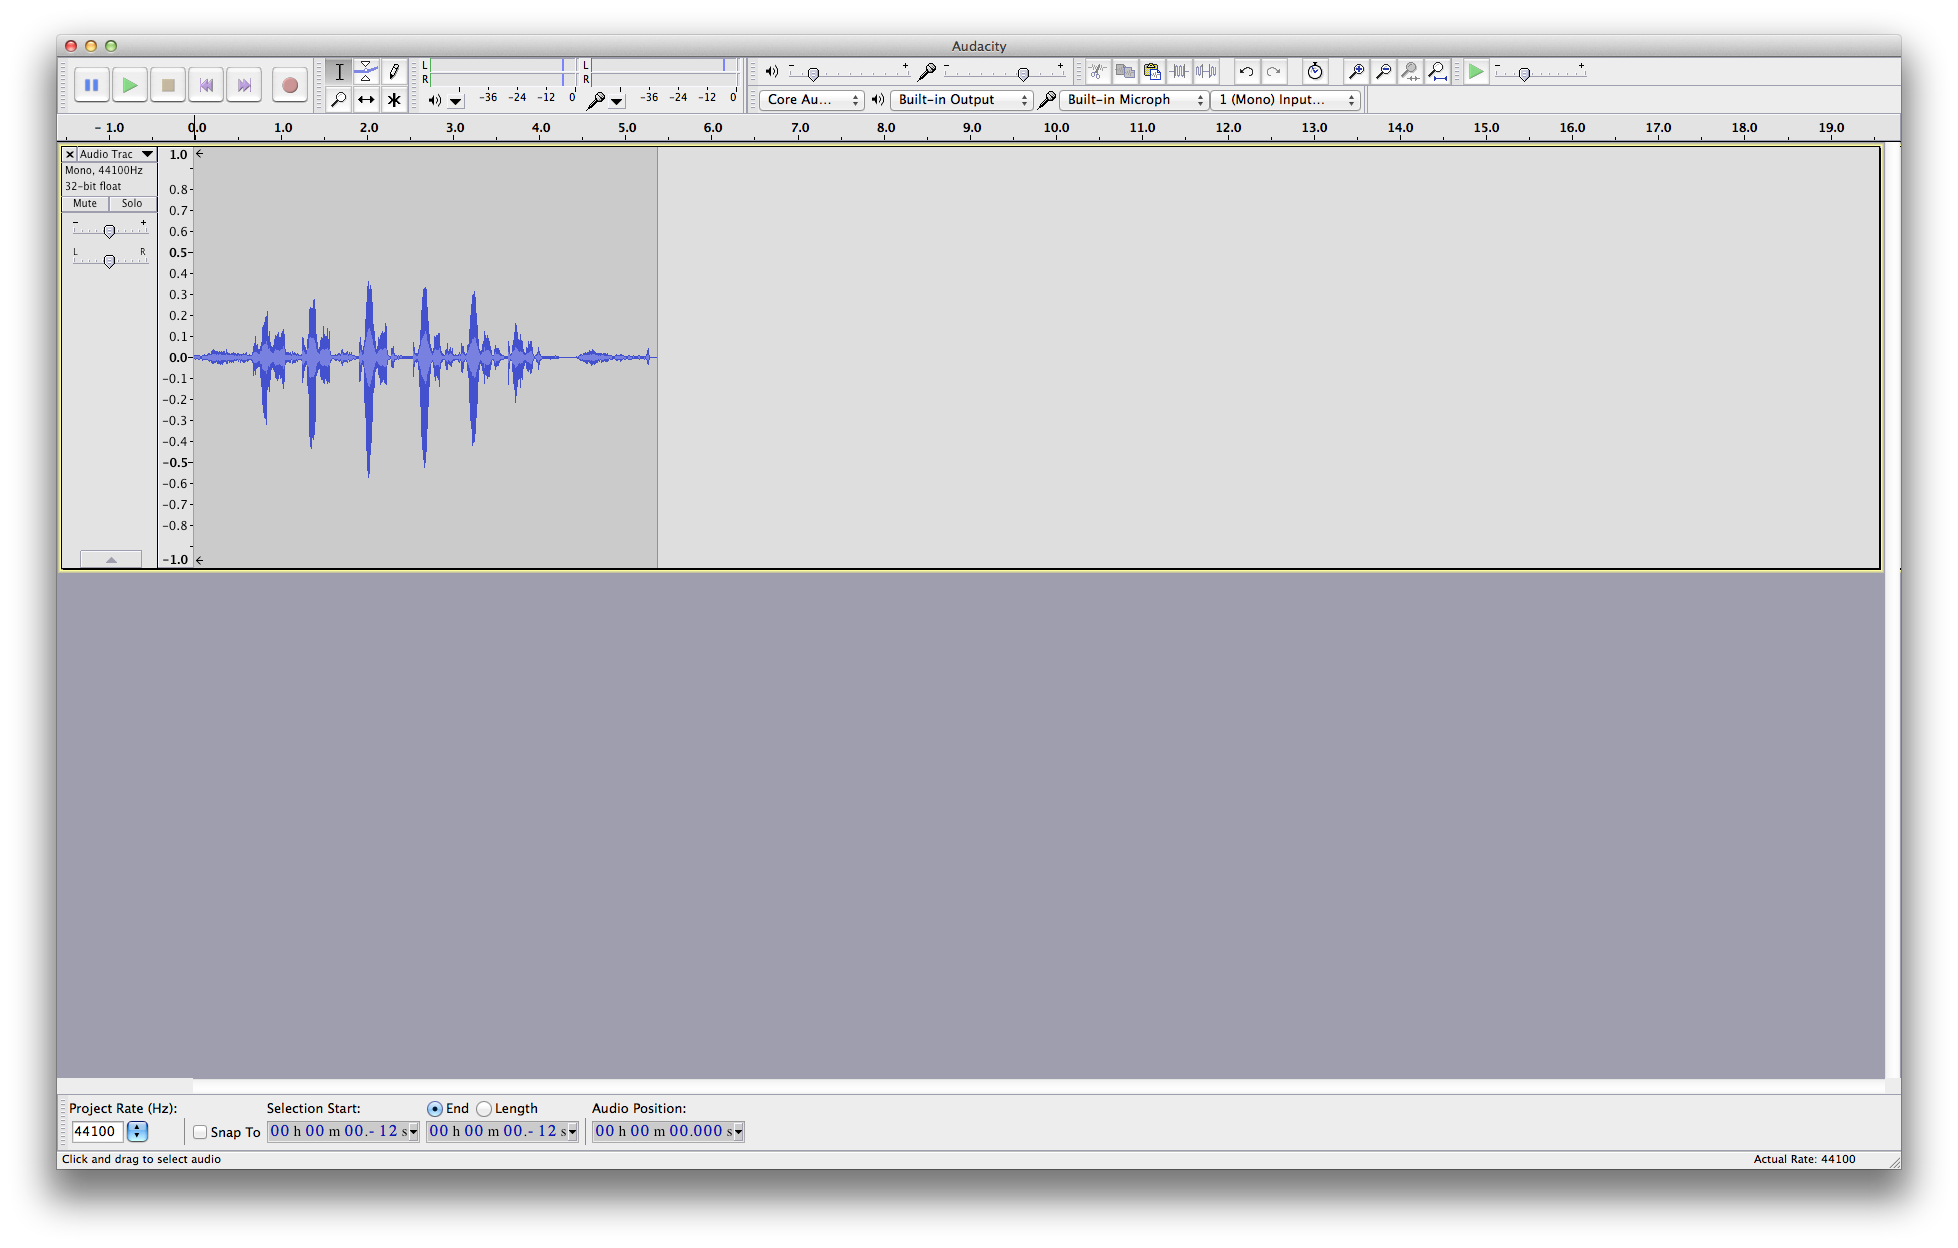
Once you install and launch the program, you should be greeted with an initial message providing you with more information. Feel free to click on any of these links for an even more in depth exploration of the capabilities of the program. After clicking OK you will be presented with the main screen. At this point, you should see something similar to the following.
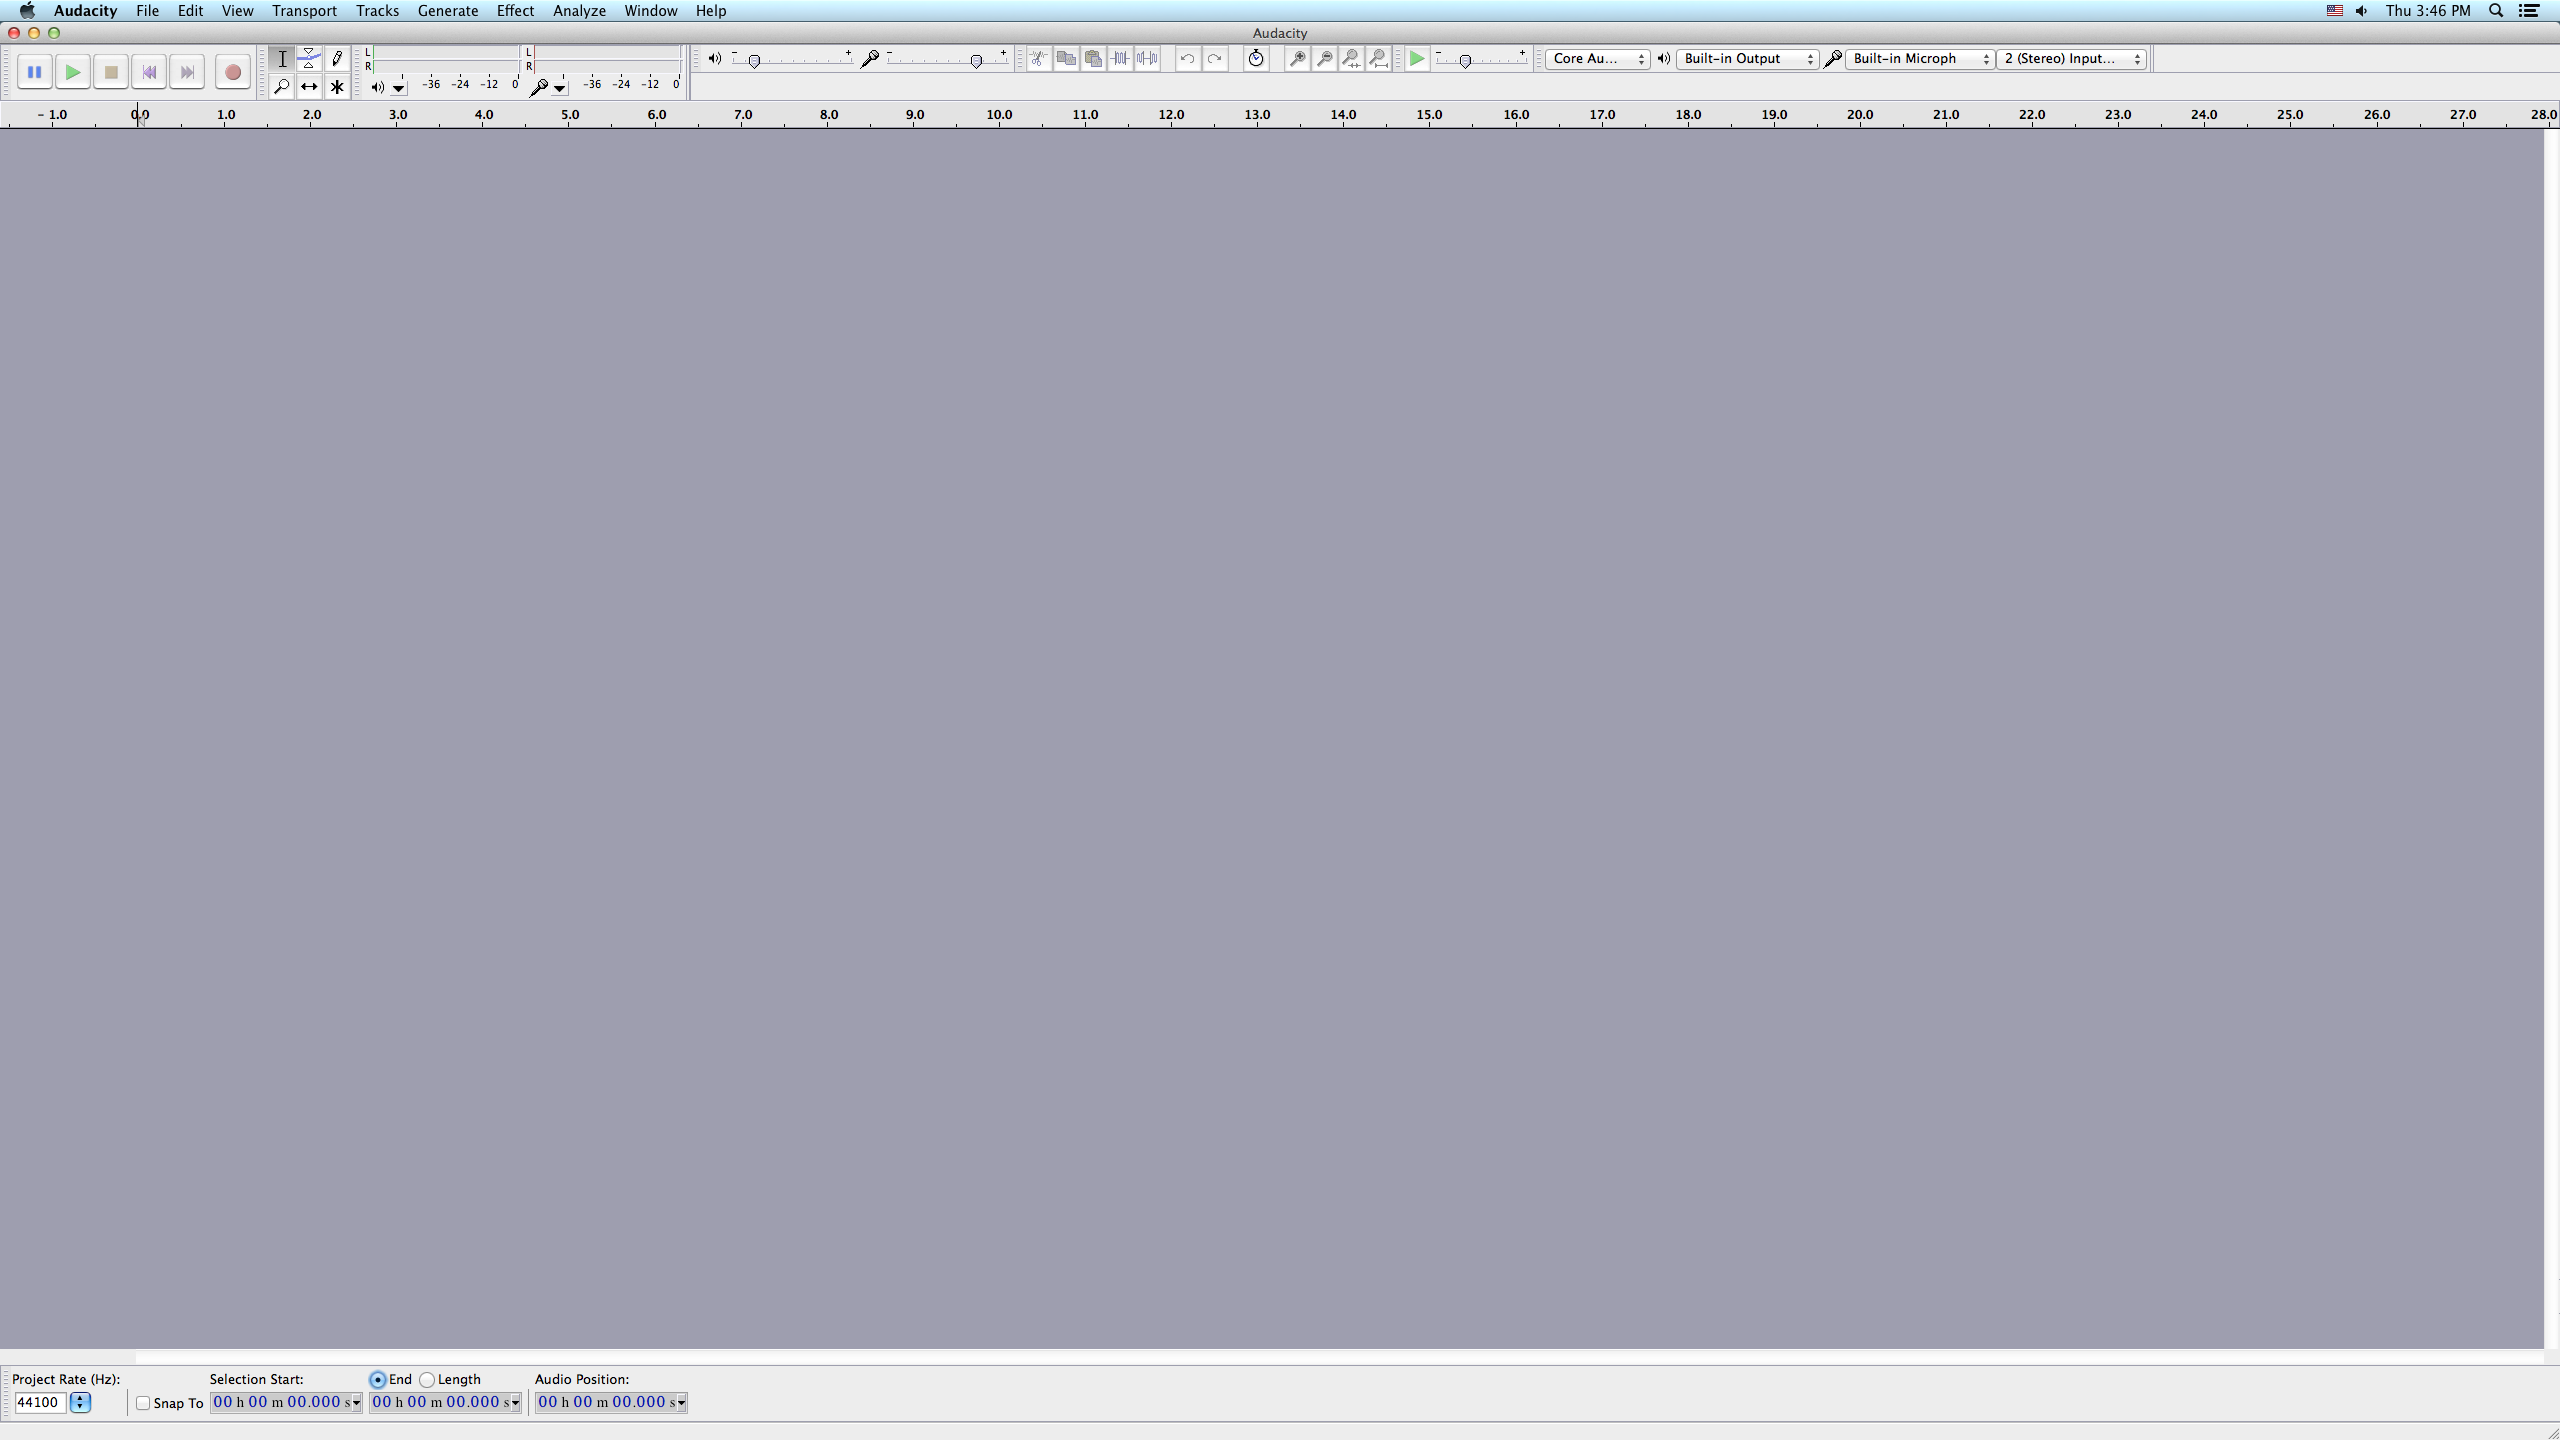
Notice the menu options at the very top of the screen, these will be useful later in this tutorial, but for now, focus on the toolbar that extends across the screen, just above the large grey area. This toolbar will be the primary interface for our interaction with the software. Included in the toolbar by default are options for input and output settings, playback and record settings, and editing tools. The large grey area directly below the toolbar will be the location of your recorded or imported audio. For now, it is blank because no audio has been tracked.
Tracks
In Audacity audio is confined to a track. You can create a track manually by selecting Tracks > Add New > Audio Track to manually insert a track. For convenience, Audacity will take care of the creation of tracks for you, whenever you import or record audio. The image of a track below can be used as reference.
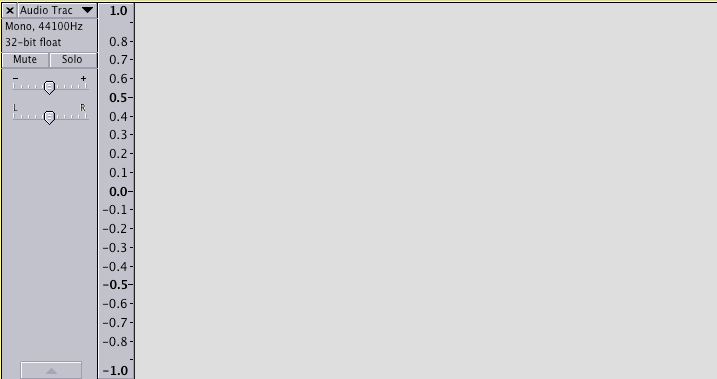
Each track has several options associated with the track as a whole, that is, changes to the options effect every piece of audio confined to the track (if this doesn’t make sense now, keep reading, things will clear up after we start bringing audio into Audacity). Perhaps the most obvious track control is volume, denoted by the fader labeled + and -. Volume will control the output level of every piece of audio on the entire track. Another fairly simple attribute is the pan of the track, which controls the left and right balance of the track. The pan control is conveniently labeled with L and R (i.e. left and right). Other useful track controls are Mute and Solo which silence the track (or all the audio on the track), or make the track the only thing that sounds. From a visual perspective, the track can be manipulated to make room for other tracks or to increase the focus on a specific track. The grey arrow at the bottom of the track minimizes (or maximizes) the current track, and by left clicking the base of the track and dragging up and down the vertical size of the track can be adjusted to taste.
The Transport
The transport is located in the toolbar at the top of the screen. It appears as follows.
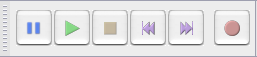
Likely a relic of the days of tape recorders and players, the transport is the primary control for the playback and recording of audio. To playback audio, press the green triangle (alternatively space bar), and to stop audio that is playing back press the yellow square (also spacebar). If you wish to pause playback at a specific moment with the ability to resume from that moment, use the blue pause button. Lastly, to record, press the red circle. Recording is covered in more detail in the following section.
Recording Audio
Initial Settings
Before you can start recording, it’s important to make sure that your interface settings are correctly set. You can see how things are setup directly in the Audacity toolbar. Look in your toolbar for the following menus.
![]()
From left to right, the first drop down menu is the driver in use by the computer. On OS X, there will only be one option, Core Audio, but on Windows and Linux there may be others. For basic applications, the effect of changing this is negligible. The next menu is the output device. If you do not have a dedicated audio interface, this is likely to be correctly set up by default. If you do, verify that the device is selected, or your output will not sound from the device, but rather the computer’s built in sound card. The menu next to the output device menu is the input device menu. Again, not having a dedicated audio interface will mean that this is likely automatically set up, if you do, verify that your sound card is selected or else you will not be able to record through the interface. The final drop down menu is the input from which you wish to record. For basic applications, ensure this is set to 1 (Mono) Input. Some settings will default to 2 (Stereo) Inputs as in the picture, but this is not the correct setting for recording a single voice through a single microphone. If you are in the Sound Studio and have more inputs at your disposal, use the image in the Sound Studio documentation available on the desktop to determine which and how many inputs you wish to record.
Monitoring
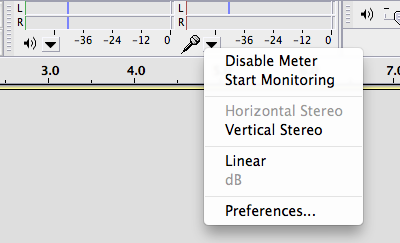
Monitoring, or hearing yourself during the recording process, is integral as it provides aural context for your performance. It also helps you catch any distortions or clipping before the editing phase, preventing you from having to go back and re-record sections of your material. To enable monitoring, navigate to the toolbar and select Start Monitoring from the following drop down menu.
Warning: You may experience feedback at this step if your microphone is too close to your monitoring source. For best results consider using headphones. At this point, if you have correctly configured your settings, you should be able to hear yourself through your monitoring source. You can now use the output volume and recording volume faders to establish a good level in your headphones and a good recording level. The faders are located in the toolbar and appear as follows.
![]()
While the output volume (to the right of the speaker icon) is largely up to your preference, the recording volume (to the right of the microphone icon) is vital to establishing a clear recording. In noisy recording environments (anywhere but a dedicated recording studio) it is considered best practice to record as loud as you can without clipping. Clipping is what happens when your recorded audio exceeds the threshold at which the computer can represent it. One approach to establish a good level is to turn up the input volume until you see clipping, then turn it down a few notches from there. You can visually see clipping in Audacity via the input and output meters. The following picture is an example of input and output that has clipped – notice the red line to the right side of the meters. This light, called the clip light, indicates that the audio has clipped at some point. You can reset the clip light simply by left clicking on it, or waiting for it to reset itself (after a default set amount of time in Audacity).

After you’ve finished recording, and you want to turn input monitoring off, you can do so in a similar way as starting it by selecting Stop Monitoring from the same drop down menu.
Recording
If you’ve followed the directions to this point, you should be ready to record. Make sure that input monitoring is enabled as described in the above section and left click on the red record button in the transport. A track should automatically appear for your recording and you should be able to see the waveform render as you record. You can press the yellow stop button in the transport or press space to stop recording. Make a short test recording to test things out, you should see something like this.
Congratulations! You’ve made your first recording. You can continue to experiment with recording. If at anytime you want to delete a track you’ve made, left click the X in the upper left corner of the track. If you wish you do your entire recording at this point, you can, but it is advisable to use a piece of test audio as we continue through the tutorial until we cover more of the features Audacity has to offer.
Importing Existing Audio
You may want to import existing audio such as sound effects or background music. Importing audio will automatically create a new track in your Audacity session. You can import a track by navigating to File > Import > Audio. You should see a screen as follows.
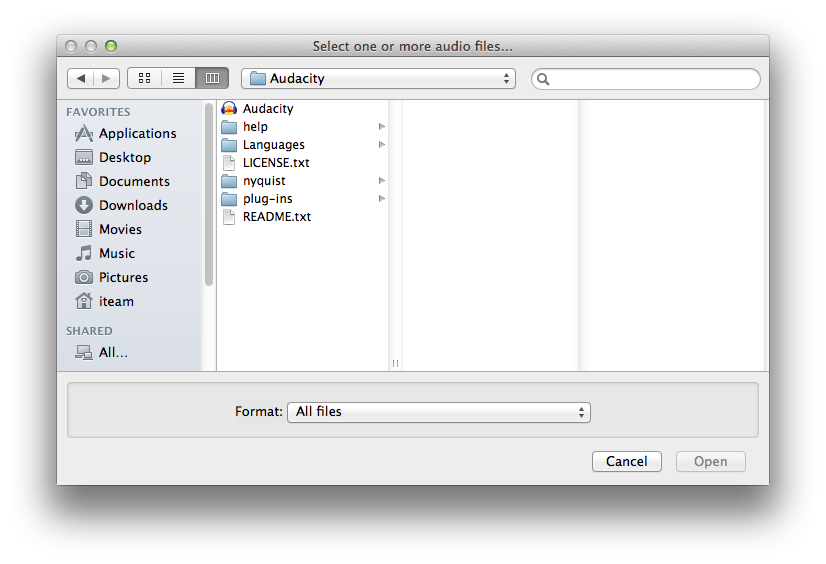
You can browse to the location of your desired audio, select it, and press open to import it. After doing so, you will see the new audio populate your workspace.

Remembering the track controls we discussed previously, you can adjust the volume and the pan of the imported audio to taste, and if you wish to hear the imported audio on its own, you can manipulate the Mute and Solo buttons as desired.
Editing Audio
A fundamental component of digital audio recording is editing recorded audio. Audacity has a simple and flexible interface for doing so. We will only cover a few of the options in this tutorial, but if you wish you explore more options for editing and more in depth discussions of the use of Audacity’s tools in the official Audacity Manual under Editing.
Zooming
Zooming is perhaps the most important part of editing digital audio. It doesn’t effect the sound directly, but it allows you to make precise selections and edits. There are a number of ways to zoom in Audacity. The first we will cover is the zoom tool, found in the tools toolbar. It is outlined in red below for convenience.
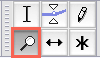
Left clicking on the zoom tool will show a magnifying glass icon in place of your cursor when hovering over the workspace (tracks). Left clicking will zoom in on the area clicked. Clicking and dragging horizontally to highlight an area will zoom to fit that area to the screen. To zoom out, hold the SHIFT key. You should see the + inside the magnifying glass cursor icon change to a -. Clicking anywhere on the workspace will zoom out. In addition to the zoom tool, there is a zoom toolbar with some convenient shortcuts. It can be found in the toolbar menu that extends across the top of the workspace. It appears as follows,
![]()
From left to right, we have Zoom In, Zoom Out, Zoom to Selection, and Fit Project To Window. Keep in mind that Zoom In and Zoom Out zoom in around the playhead, which will be discussed in the next section along with making selections which is necessary to use the Zoom to Selection feature. For now, know that the playhead dictates where these buttons will zoom and that making a selection and then using the Zoom To Selection feature will fit the selection you made to the entire screen. The final zoom toolbar button, Fit Project To Window is useful for when you have zoomed out too far and you wish to easily fit your entire project to the current window. Keep in mind, however, if you import a particularly long piece of audio into a session with short pieces of audio at the start of the session, this feature will fit the long piece of audio to the display, obscuring the smaller recordings. You can always zoom back in with the zoom tool (from the Tools Toolbar) if this happens.
Moving the Playhead
The selection tool can be found in the tool toolbar, just above the zoom tool. The selection tool is outlined in red below for convenience.

You can use the selection tool for many basic editing and navigation features in Audacity. An important function of the selection tool is the movement of the playhead. The playhead indicates the start of the playback while editing (note that in the exporting step, covered later, the location of the playhead is irrelevant). clicking on the space of a track will move the playhead laterally. See the animation below and note the change in location of the play head.
Pressing the play button in the transport, or spacebar to start playback, will play your project from the start of the playhead. You can reset the playhead to the start of the session by clicking at the start of the session or pressing the rewind button in the transport.
Making Selections and Deleting Unwanted Audio
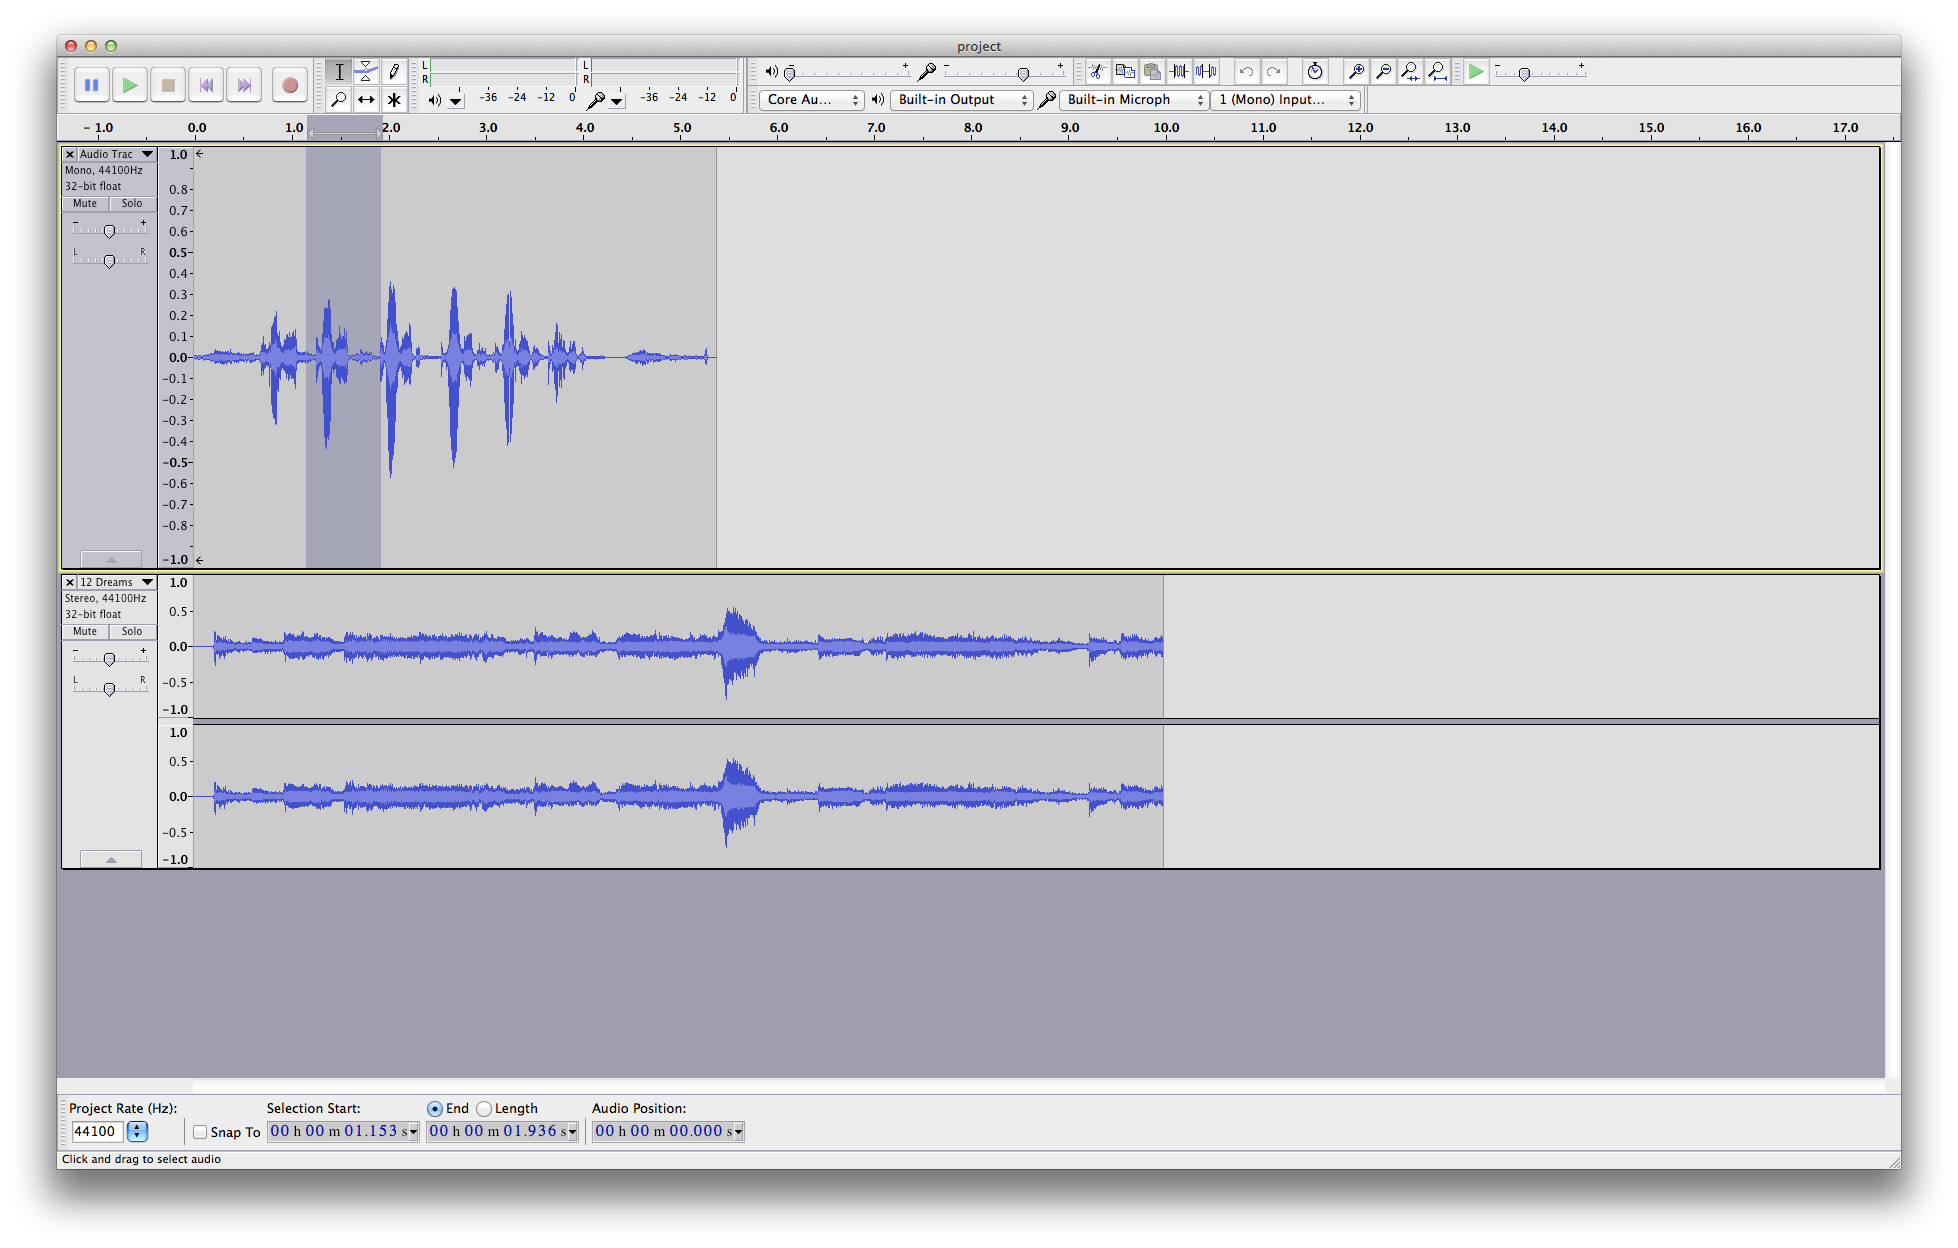
The select tool icon can be likened to the cursor of a word processor, and just as you would in a word processor with words or sentences, left clicking and dragging horizontally will make a selection. Note the dark grey area in the image below. That is a selected portion of audio.
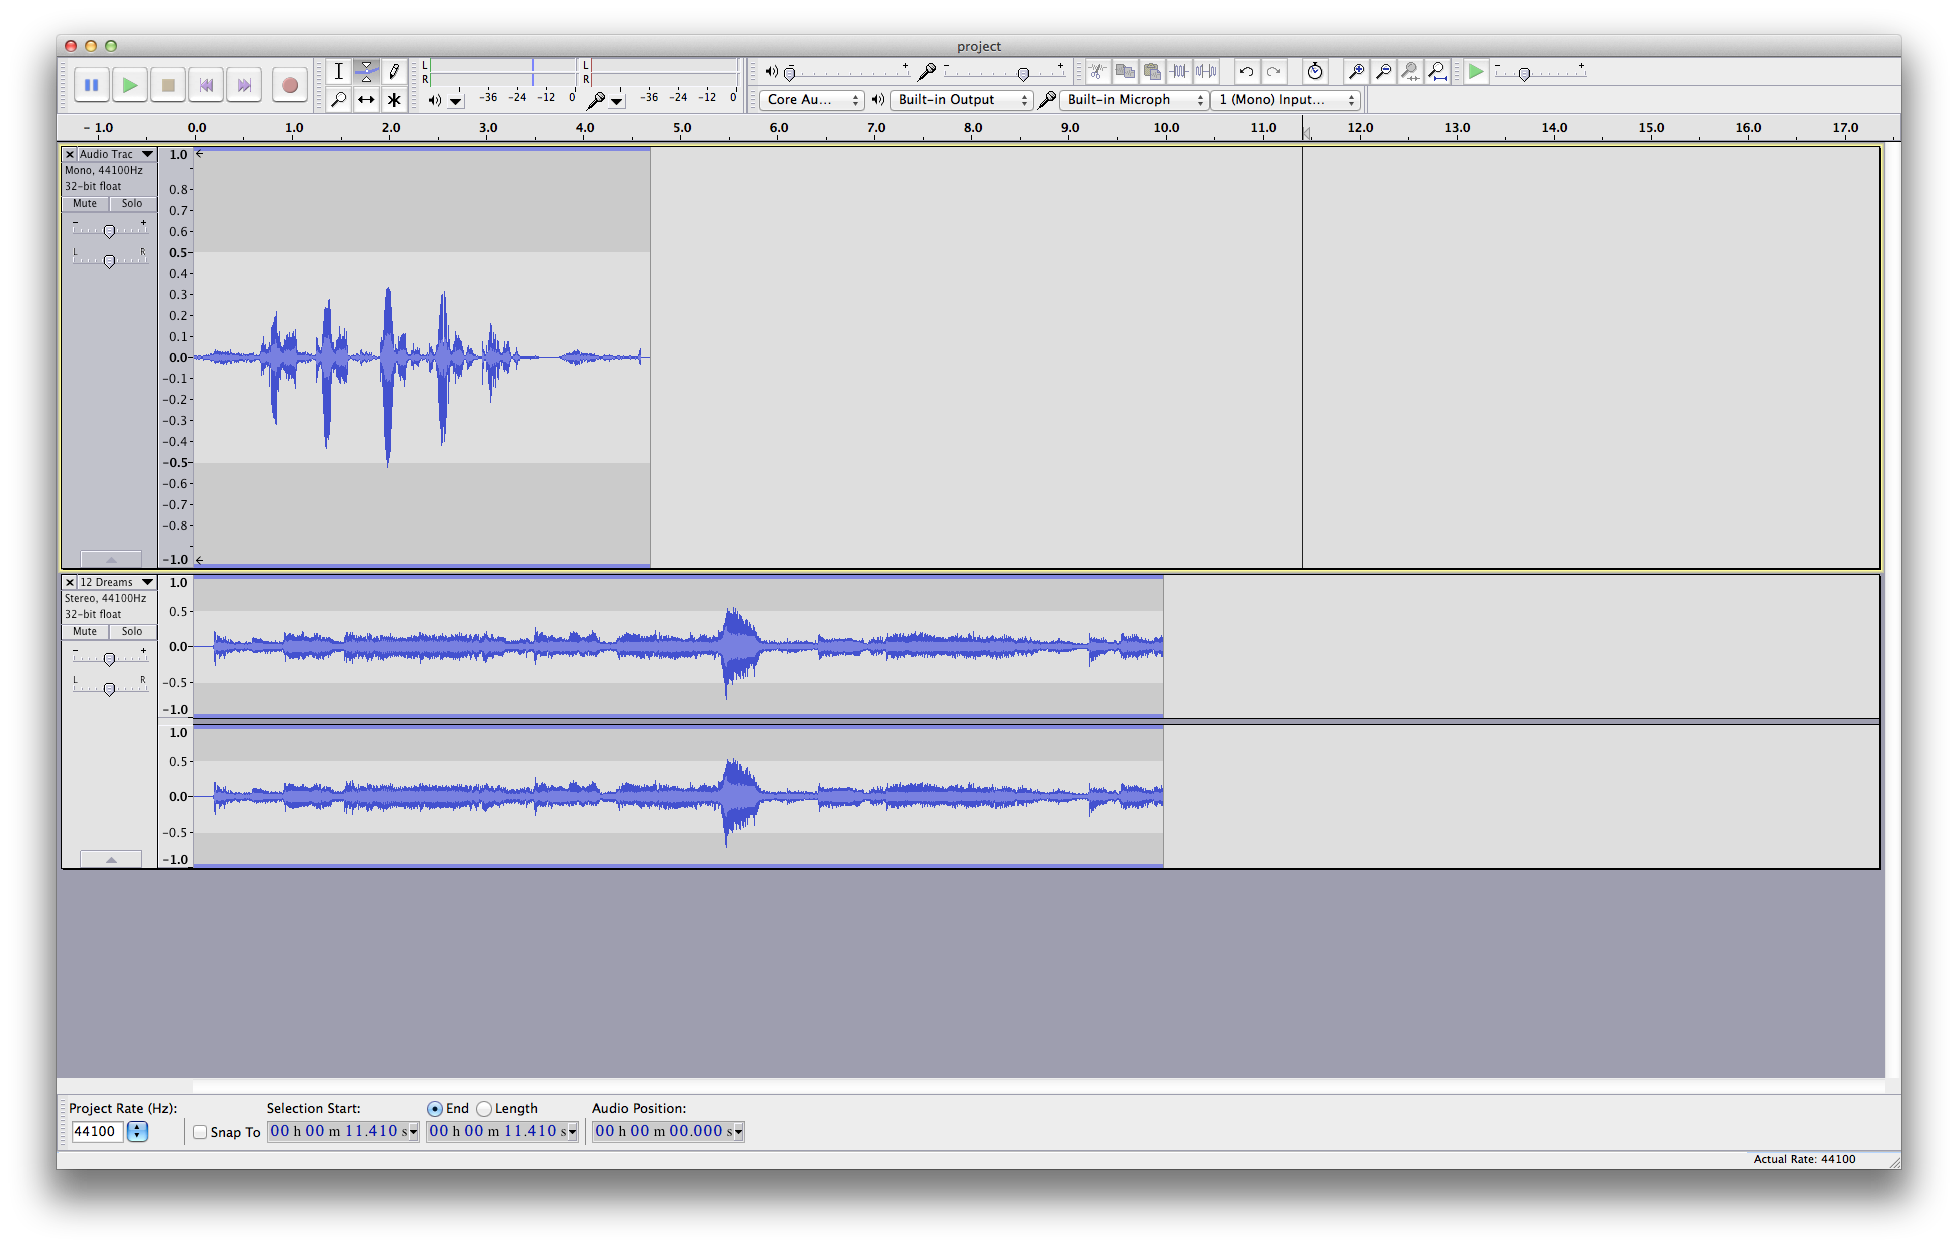
To delete the selected portion of audio, press the delete or backspace key. You should see something similar to the following animation.
Deleting audio is not the only thing the selection tool can be used for. Later in this tutorial, we will use the selection tool to select audio to which we wish to apply effects. For more comprehensive coverage of this tool and its uses, refer to the Audacity Manual.
Changing the Position of Your Audio
To change the horizontal time position of your audio (i.e. when a track plays relative to the rest of the tracks), use the time shift tool. The time shift tool is accessible from the tool toolbar and is highlighted in red below for clarity.

After selecting the time shift tool, click on a piece of audio and drag it laterally to move it. It might be easier to think of the time shift tool as more of a “grab” or “hand” tool as time shifting seems to imply some sort of warping or expansion/contraction of time. After manipulating your audio, you should see a change as in the following animation.
Dynamically Automating the Volume of the Audio
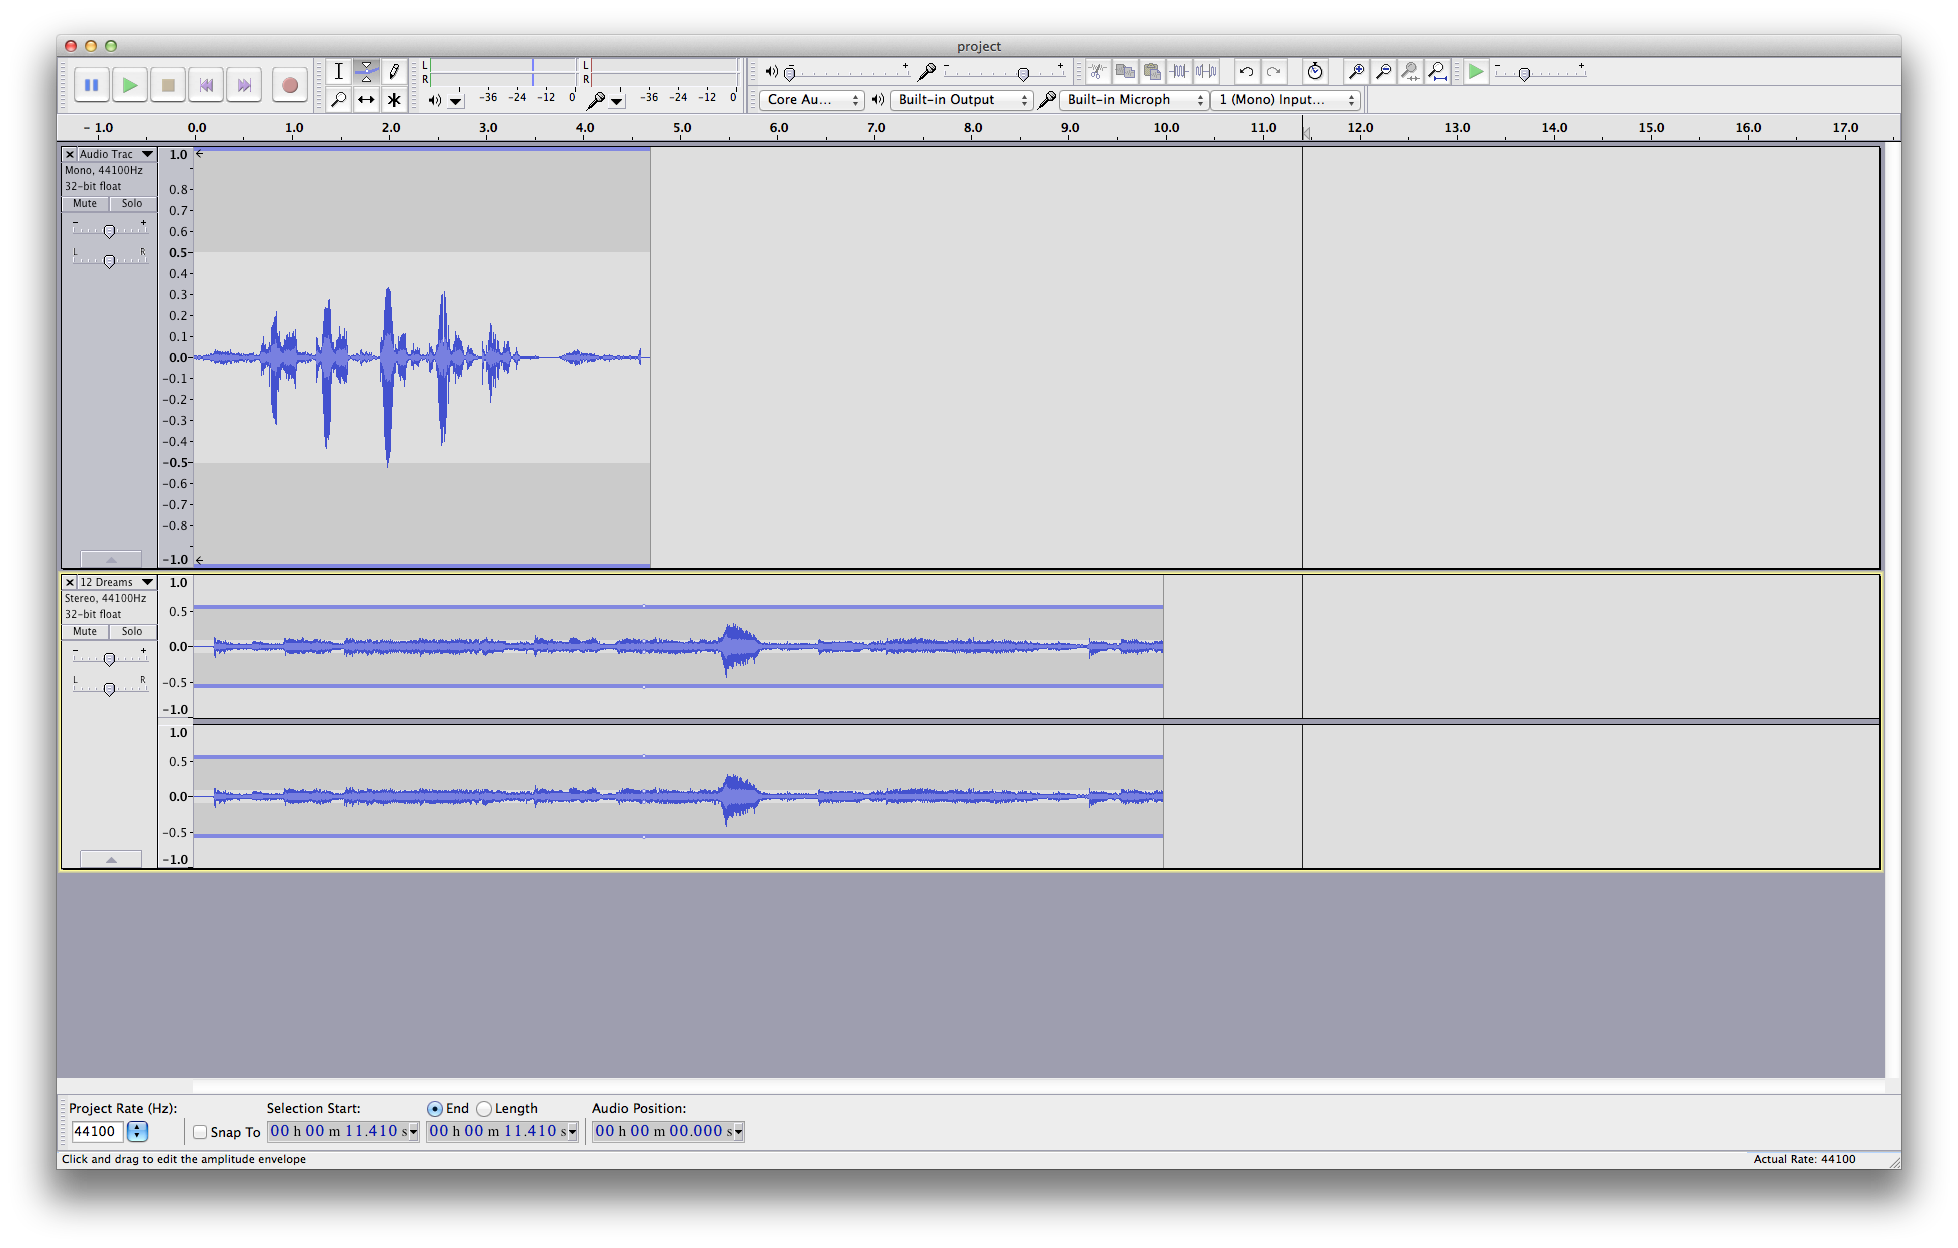
The ability to adjust the volume of your audio over time is built directly into Audacity’s basic features. Doing this in other audio editing programs tends to be more involved so the inclusion of this feature attests to the power and flexibility of Audacity. To begin, select the envelope tool from the tools toolbar. The envelope tool is highlighted in red below for convenience.

Upon selecting the envelope tool, blue bars will appear at the top and the bottom of your audio tracks. You should see something similar to the following.
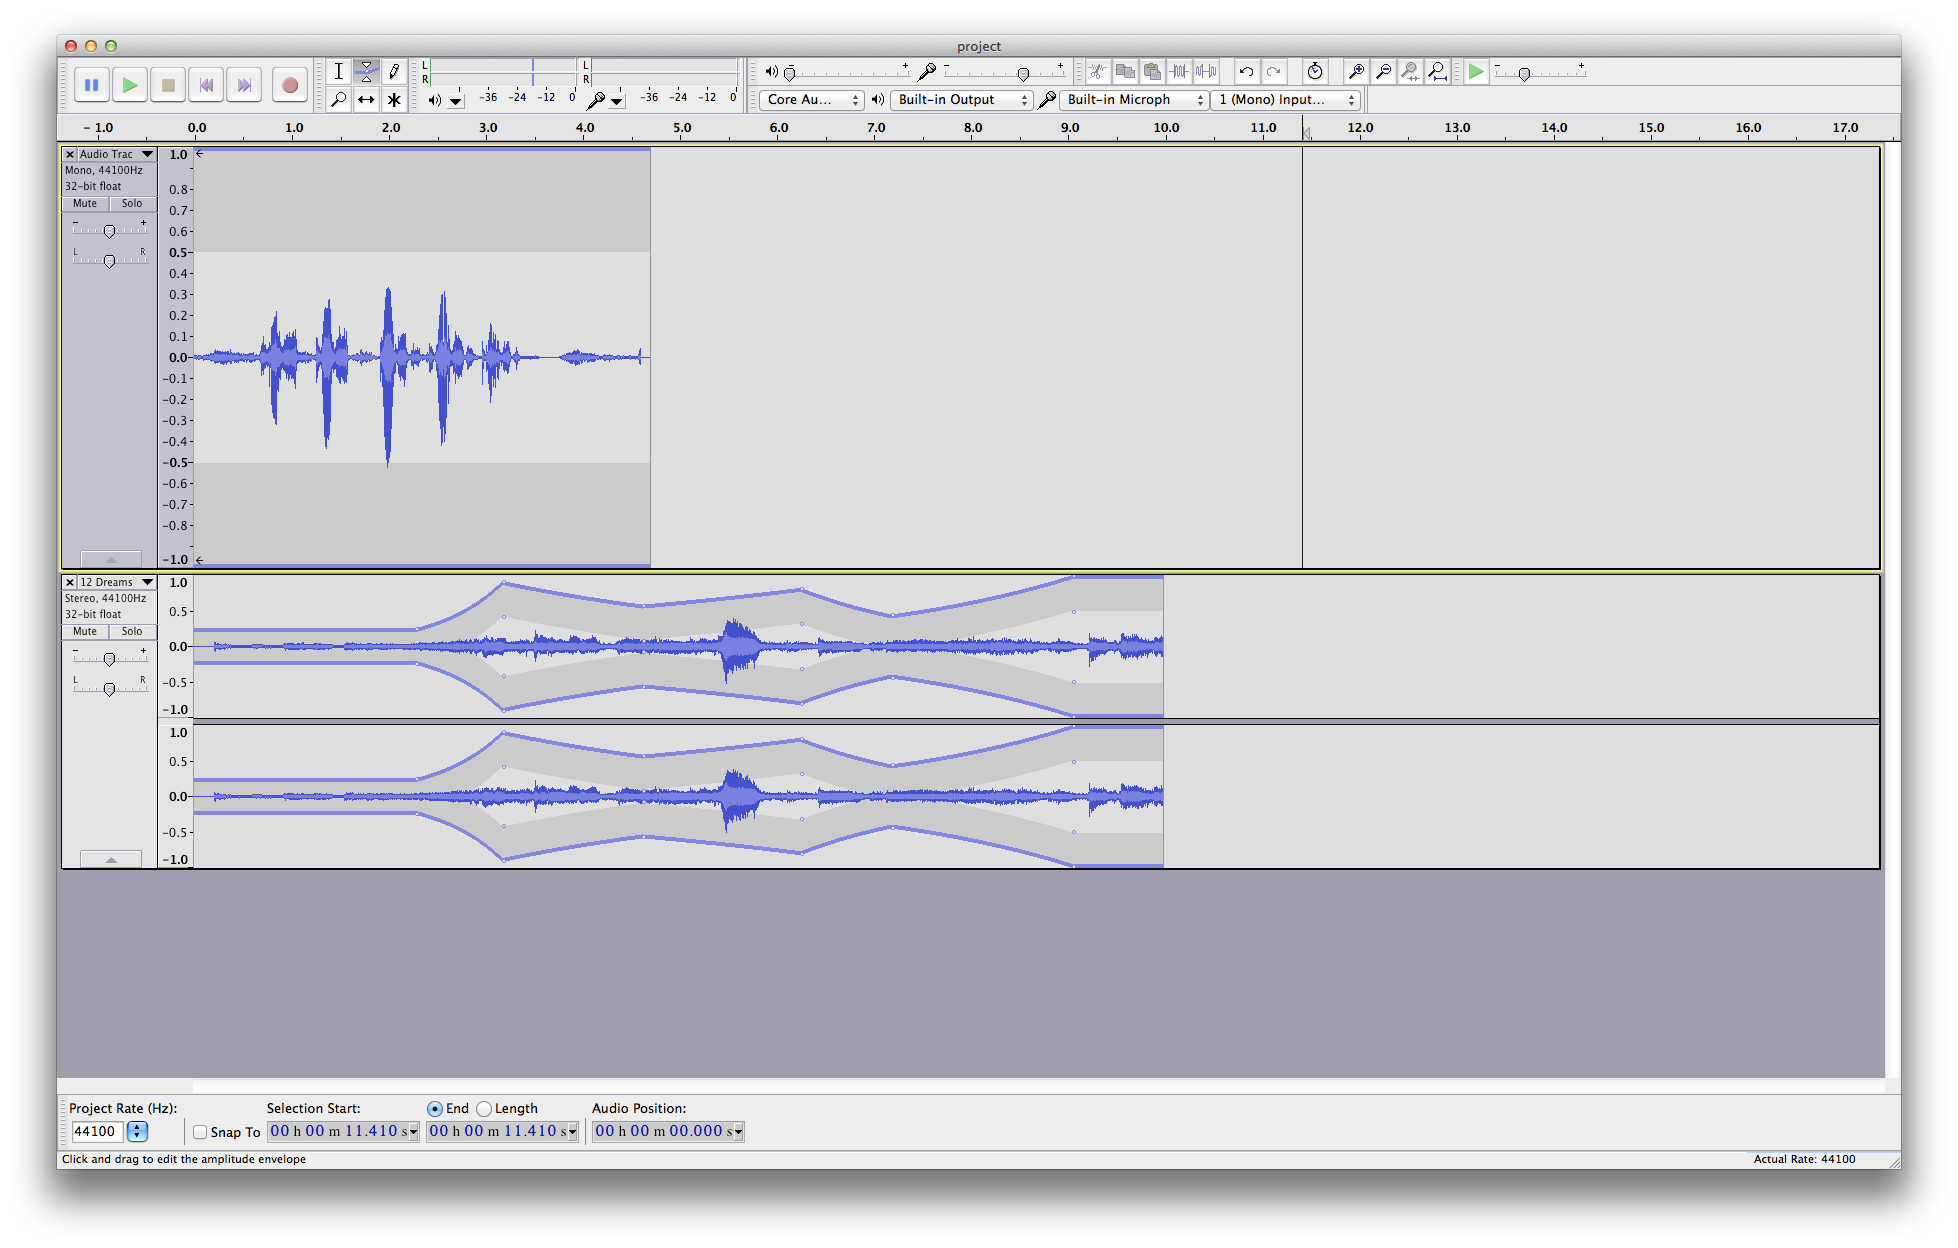
Clicking on these blue bars and dragging vertically (down) will result in the creation of a node and a decrease in volume over the entire piece of audio. In Audacity, this is conveniently represented by a decrease in the size of the waveform. You can see the location of the created node is represented by a white dot in the middle of the blue bar (hard to see in the below picture, but more evident on your home machine).
Clicking and dragging vertically on the blue bars, in a different location than the first node placement, will result in a gradual change in volume between nodes. You can continue to add nodes simply by clicking and dragging to get something as follows.
You can delete a node simply by clicking it and dragging it vertically to the top of the track. We can use this feature to dynamically alter the level of an audio track, which is especially useful for evening out the track so overall volume is consistent over time.
Applying Effects
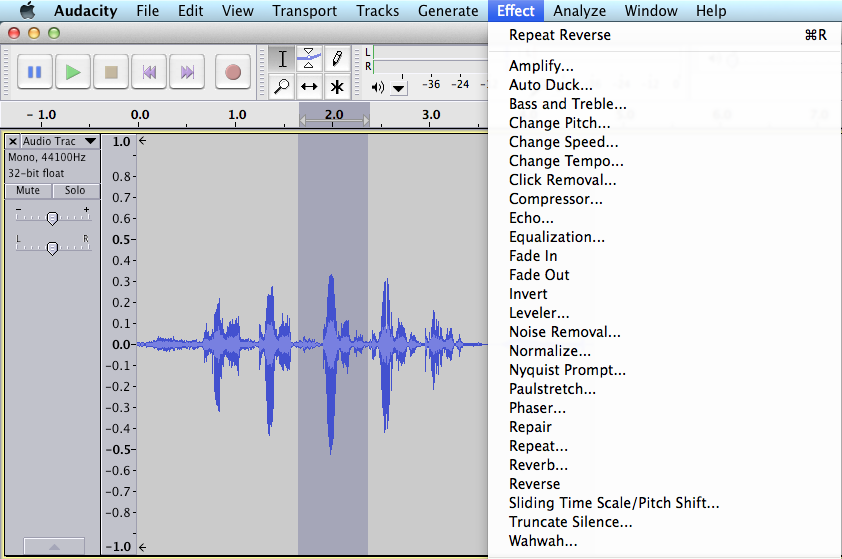
Audacity is packaged with a large collection of built in effects. Depending on your operating system and installed software, additional effects might be available from the list. To apply an effect, we start be using the selection tool to make a selection. Then, from the menu options at the top of the screen, click Effect. At this point, you should see a long list of effects available for use, similar to the following screenshot.
From the menu, select Reverse. We’ve chosen this effect for this tutorial because it will be easy to hear the difference between the effected and un-effected audio. After selecting Reverse, you should see something comparable to the following.
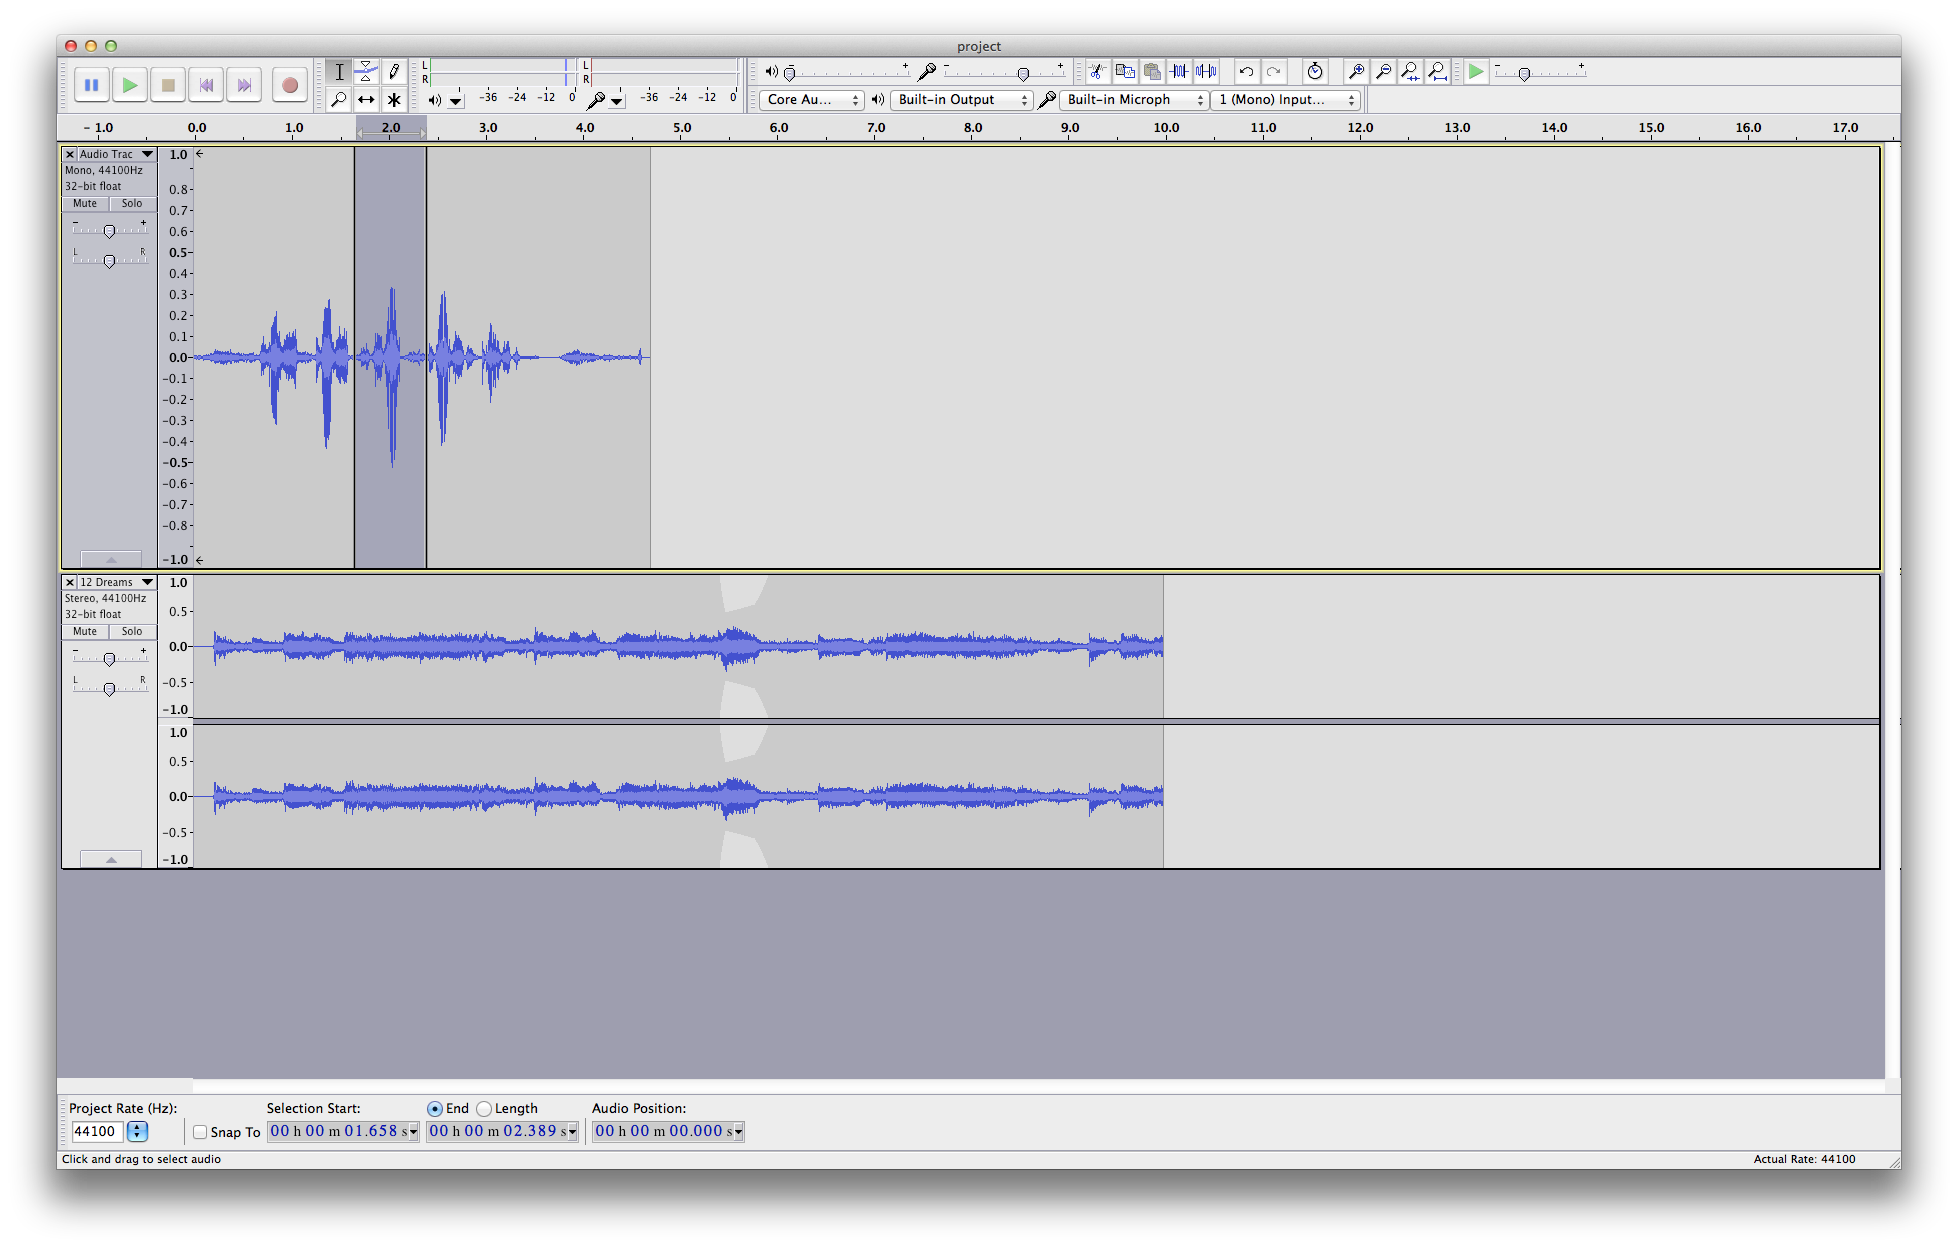
The selected portion of audio has now been reversed. Using the technique in the Moving the Playhead section, click to place the playhead just before the selected effect, and press play to hear the applied effect in action. You can experiment with different selections and different effects available from the menu. Some effects require some settings or additional menus to click through, so don’t be alarmed if these appear.
Saving Your Project and Exporting Audio
At this point, you are ready to save your project and export your audio. Please be aware that saving and exporting are two separate functions and yield different results. To save your project, navigate to File > Save from the menu options. If this is your first time saving, you will see the following message:
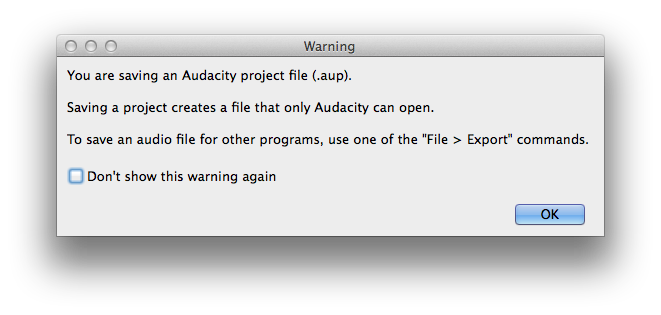
In other words, using File > Save saves all the audio files used in the session, as well as edit data, volume adjustments etc. If you try and send this file over email, the person you’ve sent it to will need to download Audacity in order to listen to the recording. This is beneficial if you wish for your project to be edited by someone else, but not so much so if you just want to distribute the recording. For a more universal medium, use, as the dialogue box suggests, File > Export. This will create a single audio file, in the format you desire, that you can distribute to your family, friends, or fans. After you export, you cannot readjust levels and effects, but you can always make edits in the Audacity project file and re-export. You can change the output format of your export by clicking the Format drop down menu when prompted for a file name. You can learn more about different formats and their uses here.
Final Notes
Audacity is a flexible free open source audio editor and recorder. There are more features built into the software, including additional editing techniques, keyboard shortcuts, and comprehensive effects. For more information, check out the Audacity Manual. Though it might be daunting at first, don’t be afraid to get your hands dirty. If you feel like you’ve made a mistake, use Edit > Undo to revert back to the previous state and try again. Most importantly, have fun and enjoy how easy it is to create and edit your own audio recordings.