Overview
Mover.io is a web-based app that offers free migration service for cloud storage data. The service was acquired by Microsoft and has a familiar file structure interface that makes moving content from one platform to another relatively easy.
Limitations
During the migration process, Google native files will automatically be converted to a supported file format in the destination location. However, not all of Google’s content is compatible with other cloud platforms. For example: Google Jamboard files cannot be converted nor exported to an alternative format such as PDF. In cases like this, you will need to manually recreate the content in its equivalent under the destination platform.
Content Restrictions for UW
The following will not migrate using the Mover.io tool, either as a source or a destination for content:
- Google Shared Drives
- Microsoft SharePoint
How-to Guide
Before starting the process outlined below, be sure you are using the correct tool by following the link provided in step one. Mover.io has multiple tools available on the site, some of which are not compatible with migrating UW Microsoft 365 accounts.
Using Mover requires you to be added to an exception group. Once you are added to the group, you will receive a weekly email asking if you need to remain in the group so that you can continue to use Mover to migrate data. If you do not re-assert your need to remain in the group, you will automatically be removed from the group and will no longer be able to use Mover.
To request to be added to the Mover exception group, email help@uw.edu with Subject: UW Office 365 Mover group exception.
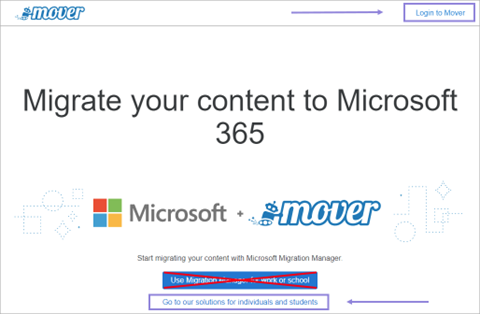
- Open the migration tool located at: https://app.mover.io/
- Choose Sign in with Microsoft
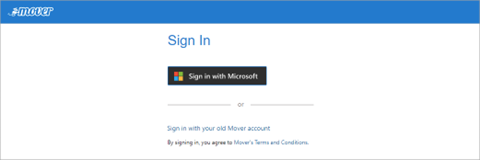
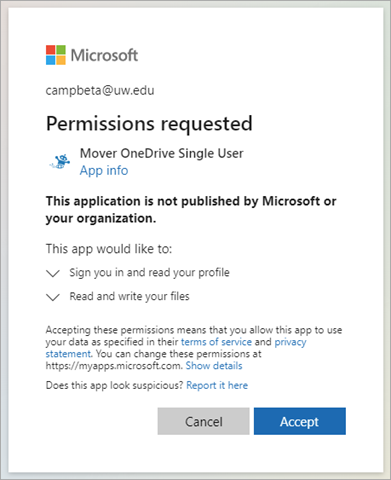
- Accept the permissions prompt, if you agree to the access request

- If you are not already signed into your UW Microsoft 365 account, login using your full UW email address and associated password

Alternatively, the site may pick up cached information from your browser and offer to login with that account. - Once logged in, the tool will prompt to select a Source and Destination to start the process; start with Step 1: Select source by choosing Authorize New Connector
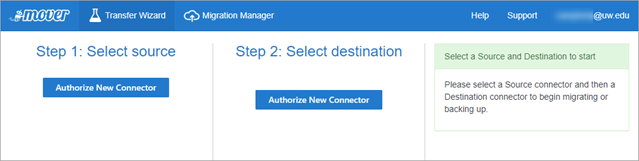
- The Authorize Source Connector page will open with several options; select Authorize next to the Google Drive (Single User) option
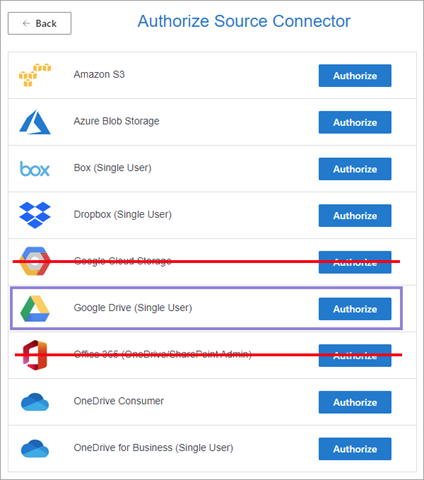
Note: Neither the Google Cloud Storage nor Office 365 (OneDrive/SharePoint Admin) options work with UW Microsoft 365 accounts. Other options have not been verified by UW-IT and/or are not applicable to this specific tutorial. - Enter a Display Name for the Google Drive (Single User) connector; select Authorize
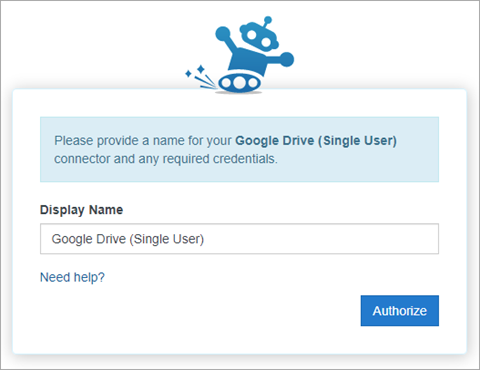
Note: The Google Drive (Single User) connector is the UW Google account you are moving content out of, the name here is only to make it easy for you to recognize the account during migration.
- Choose an Account to login with, in this case the UW Google account that you intend to migrate content out of and into Microsoft 365 OneDrive for Business

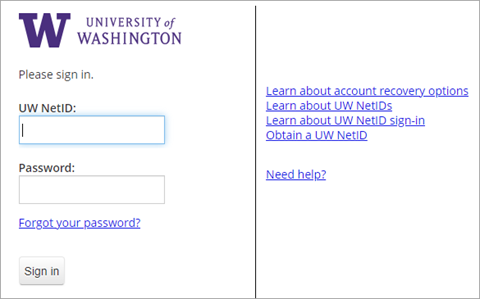
Note: If the UW Google account is not listed, select Use another account and login - Login using your UW NetID
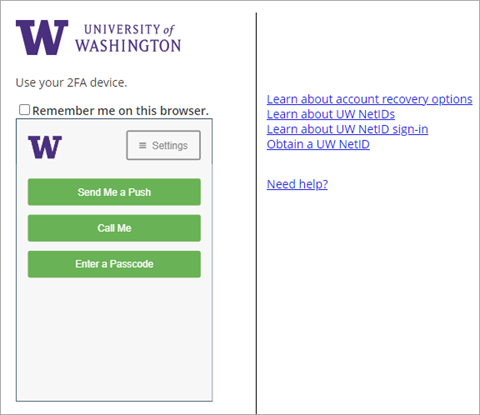
- Complete the 2FA prompt
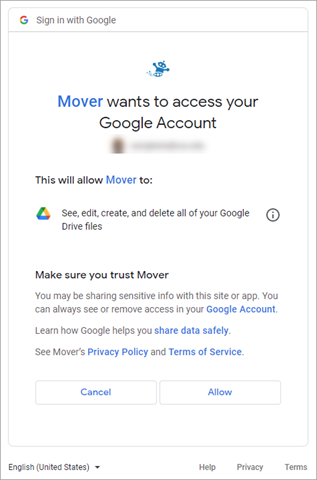
- Complete the Google access prompt
- The newly added Google connector displays folders and files in the UW Google account available to migrate; start the process with Step 2: Select destination by selecting Authorize New Connector

- On the Authorize Destination Connector page, select Authorize next to the OneDrive for Business (Single User) or OneDrive Consumer option
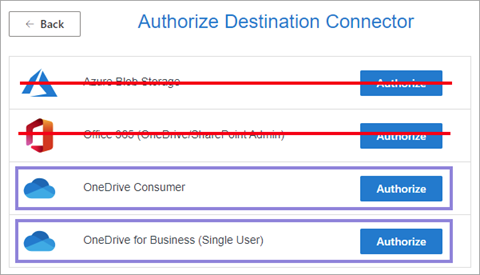
Note: Depending on the type of Microsoft account you are using as the destination is what determines which of the two options to choose. For this tutorial, OneDrive for Business (Single User) was selected.
OneDrive Consumer = personal Microsoft account (e.g. @outlook.com)
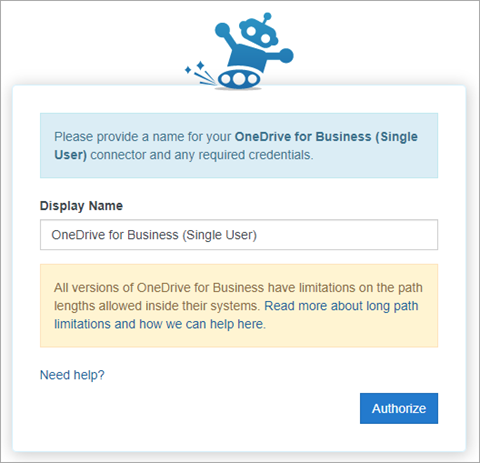
OneDrive for Business (Single User) = another UW Microsoft 365 account, or a personal Microsoft account with access to OneDrive for Business - Enter a Display Name for the OneDrive for Business (Single User) connector; select Authorize
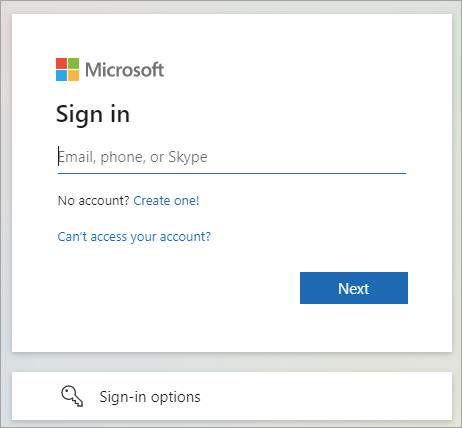
- Sign in with the full email address of the Microsoft 365 account you intend to migrate content into
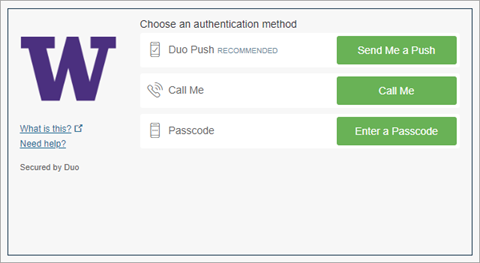
- Complete the 2FA
- Accept the permissions prompt, if you agree to the access request
- The migration tool page will now display both the source and destination connectors along with the respective directories; select Start Copy to begin the migration
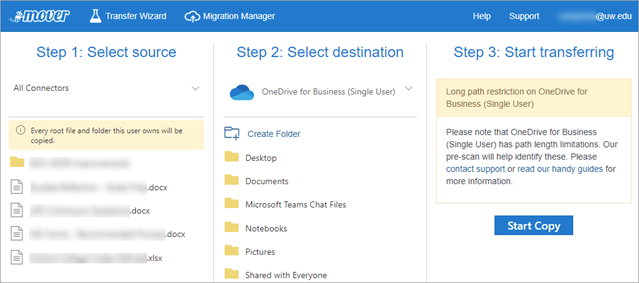
Note: If you select Start Copy at this point, the tool will copy everything from the source over to the destination main directory. If you would like to specify a folder to migrate the content into instead, select an existing folder in the destination location or select Create Folder. - The migration tool will immediately display the content transfers that have been initiated but have not yet completed; wait a few minutes for the status to update
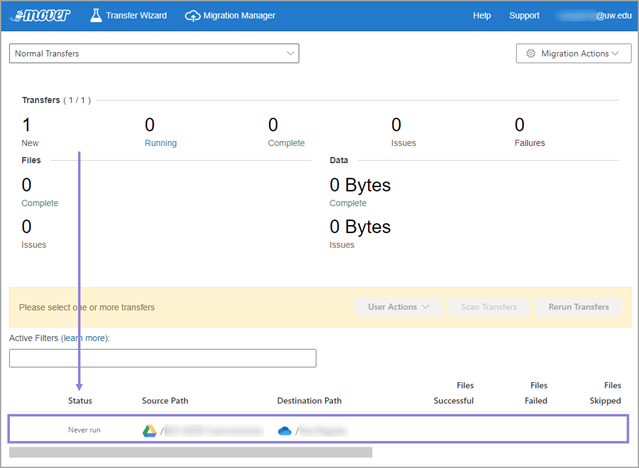
Note: Depending on the size or amount of content to migrate, this status page may take longer to update. You can leave this page open or log back into the tool later and select Migration Manager in the blue toolbar at the top to review the status of the migration.

- Once the tool has completed the migration, content will now be available in the destination location. At this point, access the destination location via another browser or your desktop application and validate the migrated content.Note: In some instances, the tool will indicate that issues occurred during the transfer. When this happens, it’s often due to an unsupported file type that the tool is unable to convert into a compatible format in the destination location. However, UW-IT has found that often the rest of the content was transferred successfully versus the tool’s reporting which indicated all files were skipped during the transfer.
Support
If you need further assistance, please contact UW-IT at help@uw.edu or 206-221-5000.