Autopilot is a collection of cloud-based technologies which leverages Microsoft Intune to automate the set up and pre-configuration of new Windows devices, getting them ready for productive use without the need for the device on-premises or touched by the Managed Workstation service. Autopilot can be used as an off-site alternative to the MWS OSD imaging process
-
- A Windows 10 computer that is ready for use.
- A NETID domain-joined Windows 10 computer.
- Local admin privileges for the user initiating Autopilot on the computer.
- The Managed Windows VPN client.
- Microsoft 365 Apps (what used to be called Office ProPlus) will be installed.
-
- Access
- Excel
- OneNote
- Outlook
- PowerPoint
- Skype for Business
- Teams
- Word
- The same basic set of Group Policy settings provided to other Managed Workstations:
- Bitlocker is enabled
- Windows Update for Business (current branch) is enabled
- Microsoft Defender is enabled for antivirus and malware protection
- LAPS is enabled to protect the built-in local administrator password
These are the 3 current methods of enrolling devices in Autopilot. If you are interested in adding additional vendors please email help@uw.edu.
The CDW-G part number for Autopilot enrollment is: 6154305 and their price to perform Autopilot enrollment for you is $10.
Note: Autopilot requires Windows 10 Pro or Enterprise. Computers that come with Windows 10 Home installed will require manual intervention before they can use the autopilot process. We strongly recommend that our users purchase business-class laptops that come with Windows 10 Pro or Enterprise pre-installed. For more information about our computer recommendations visit: /tools-services-support/software-computers/mws/mgmt/equipment/ordering/
Note: Your Departmental Requisition Requester can place the CDW-G computer order for you or MWS can do this for you as part of our Full Service option. You can find more information here: https://finance.uw.edu/ps/how-to-buy/ariba/catalog-purchases#Browsers
Please see instructions from Dell at https://www.dell.com/en-us/work/shop/help-me-choose/cp/hmc-autopilot. From those instructions, here are notes on the 4 steps.
Step 1: already completed by UW-IT
Step 2:
Azure Active Directory Tenant ID: f6b6dd5b-f02f-441a-99a0-162ac5060bd2
Azure Active Directory Tenant Domain Name: cloud.washington.edu
Step 3: You provide the info noted in step 2 when ordering
Step 4: Dell provides.
Note: Your Departmental Requisition Requester can place the CDW-G computer order for you or MWS can do this for you as part of our Full Service option.. You can find more information here: https://finance.uw.edu/ps/how-to-buy/ariba/catalog-purchases#Browsers
In order to enroll an already purchased device in Autopilot, the hardware information from the device will need to be collected and submitted to MWS.
Collect the Hardware Information for the Machine to Be Enrolled
- If you haven’t already, turn on the computer and complete the initial Windows setup. The settings you choose are not important as you will reset the machine completely to complete the Autopilot process. However, you will need to create a local account on the machine to perform these steps, as signing in with your Microsoft Account in Windows 10 is not currently supported by the UW. If you’re unsure how to create a local account, see Create a Local Account below.
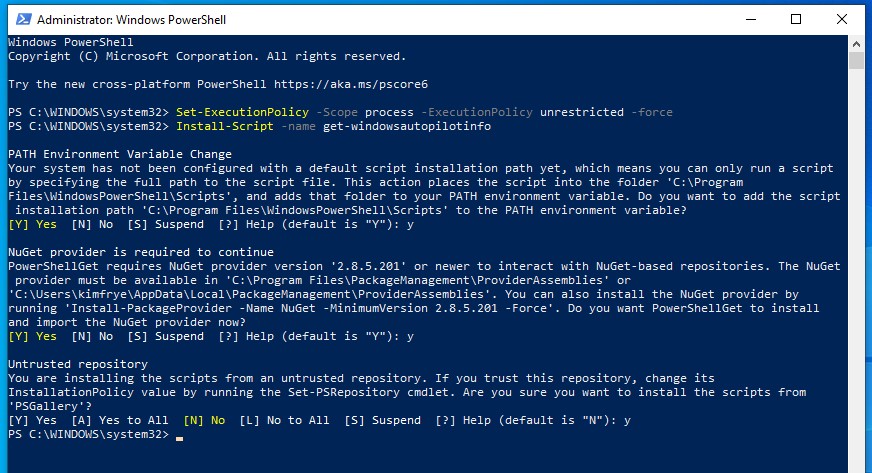
- Launch an Administrative Powershell console by right-clicking the Start Menu and clicking on “Windows PowerShell (Admin)”
- Run the following Powershell commands:
If you have multiple devices you’d like enrolled, please collect hardware information from each of them and consolidate that information into a single CSV. Send that spreadsheet to help@uw.edu with “MWS Autopilot device enrollment” as the subject.
The process of creating a local account varies based on which version of Windows you have. Follow the instructions below that best match the screen you see when setting up your machine.
Windows 10 (Pro or Enterprise)
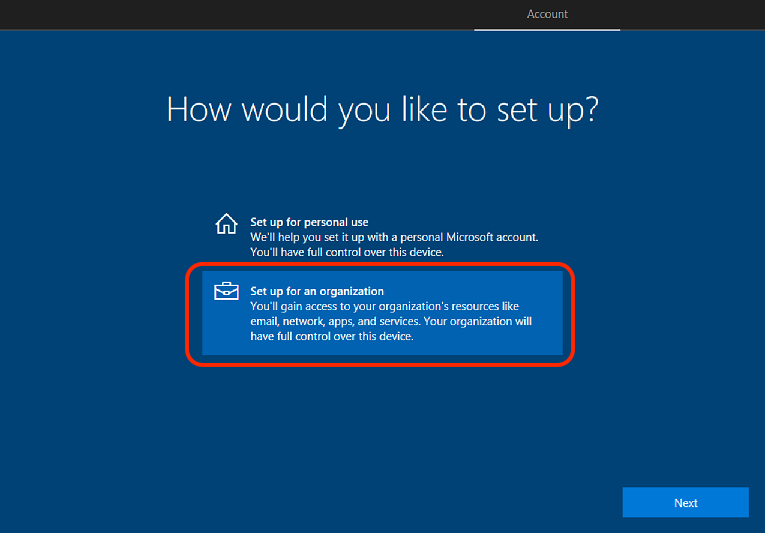
When you first open your new computer, you will be prompted with a series of setup screens. Follow through the screens and connect to your home network. Once connected, you may be prompted to download Windows Updates, do so if prompted. After you agree to the End User License Agreement, you will be prompted to choose to setup for personal or an organization, choose “Set up for an organization.” (as highlighted below).
After you choose that option, you will be prompted to sign in with a Microsoft Account, choose instead to “Domain join instead” (or “Offline Account” if using Windows 10 1909) as shown below.
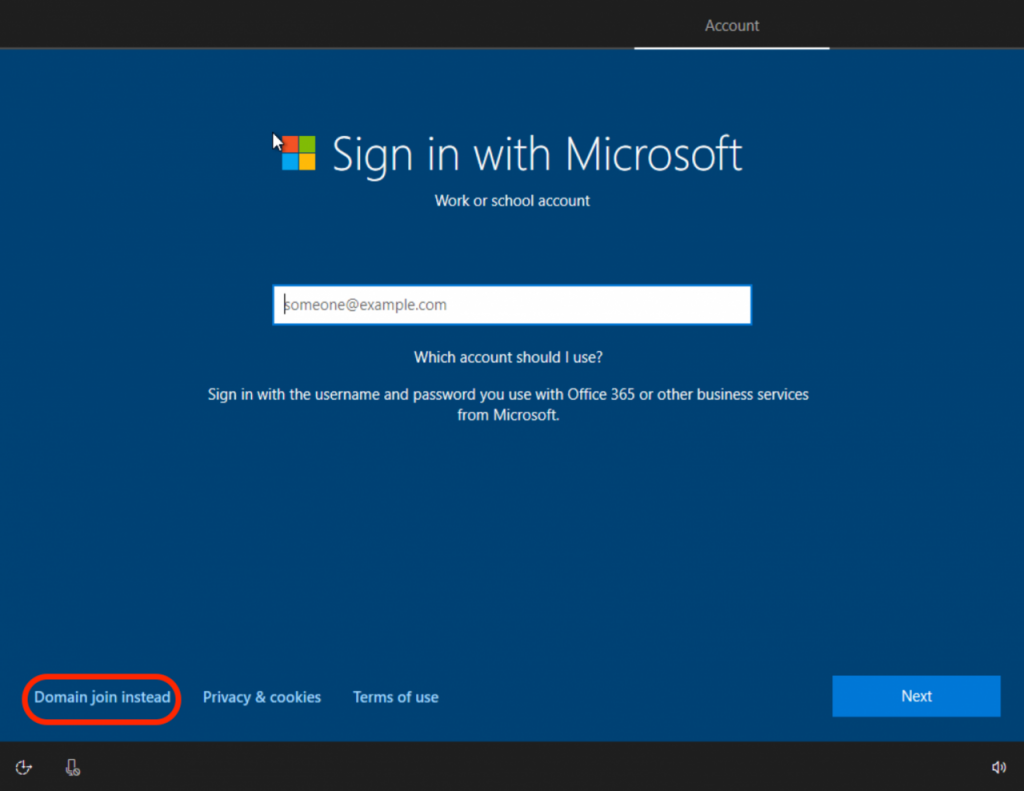
You will be prompted to create an account, you can use whatever account name you would like. Then set a password and security questions. Once you finish creating your local account, follow the rest of the instructions on the setup screens until you get logged into your account.
Windows 10 Home
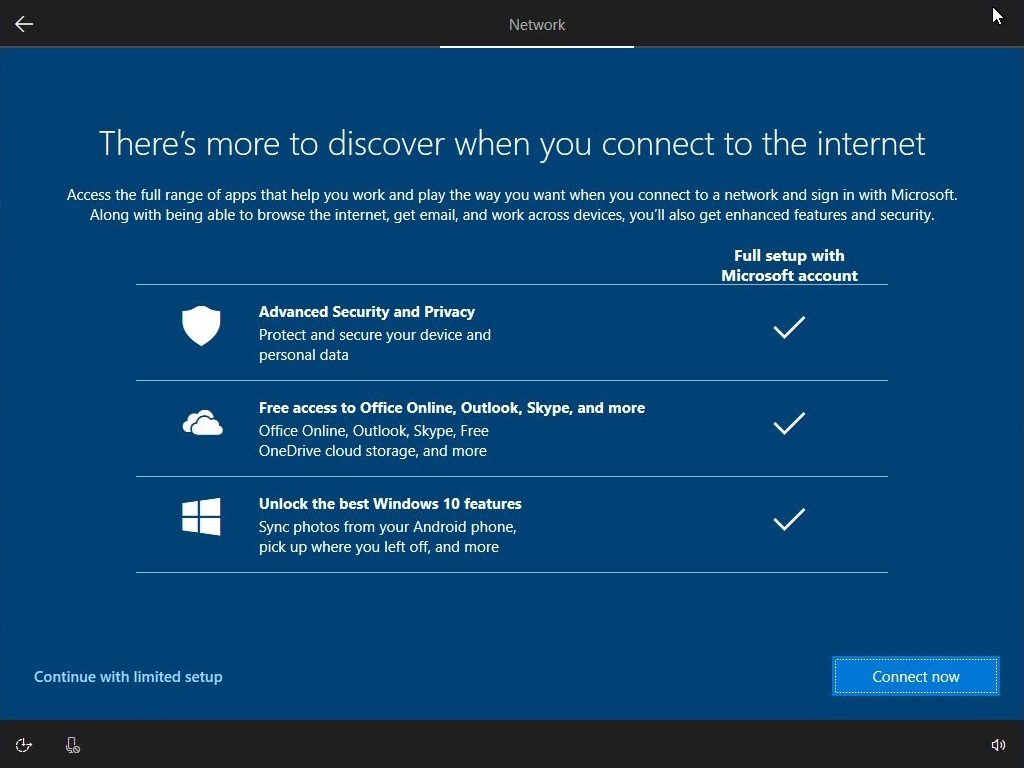
If you are trying to enroll a computer that has Windows 10 Home installed, you may not see the option to “Domain join instead” or to create an “Offline Account”. To work around this, you’ll need to unplug any network cables from the machine, reboot, and restart the setup process. If your machine has WiFi, either put the machine in Airplane Mode or skip connecting to a wireless network when prompted to do so.
You will then be presented with the following screen:
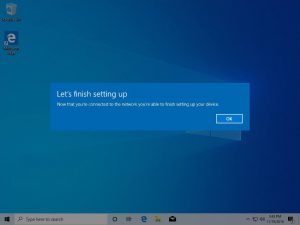
Click on “Continue with limited setup”, and then follow the prompts to create a local account. Once you’ve logged in, you may connect to a Wireless or Ethernet network. When you do so, you’ll see the following prompt:
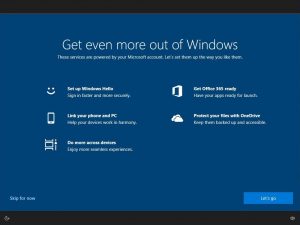
Click OK. You will then see this screen:
Click “Skip for now”. You may then proceed with the Autopilot enrollment steps.
Adding Autopilot devices to MWS
After your devices have been enrolled in Autopilot – submit the Enable a computer for Managed Workstation services form with budget information and a note that the computer/computers are Autopilot joined and need to be moved to Managed Workstation management.


