UW Zoom meeting and webinar hosts can now enable a machine-generated, live-captioning feature. For meeting hosts who enable the feature, when meeting and webinar participants speak, captions will appear. The machine-generated transcript can be saved as a local text file.
Because the speech-to-text is machine-generated, accuracy will vary, and does not meet disability accommodation requirements. The machine-generated live captioning feature should not be used as a replacement for professional captioning services.
Requirements:
- Live captioning must be enabled by the host in their UW Zoom account settings, then enabled during the meeting or webinar. Participants will not see the Live Transcript option unless the host enables it.
Limitations:
- English is the only language currently available.
- Captions are available only in the standard UW Zoom account (not HIPAA).
- This feature does not create captions in the Zoom recording. Captions only appear during the live meeting. Hosts who want captions to appear in the Zoom cloud recording must enable Zoom Audio Transcription.
- Live captioning is not available in Zoom breakout rooms.
- Machine-generated captions do not meet minimum accuracy requirements and should not be used as a disability accommodation.
- Speaking slowly and clearly while limiting background noise may result in improved accuracy.
Before the Zoom meeting
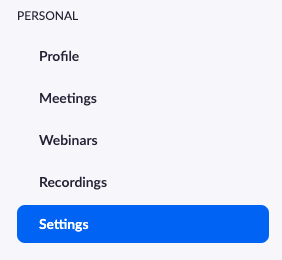
- Log in to washington.zoom.us.
- Click Sign in to Standard UW Zoom.

- Click Settings.
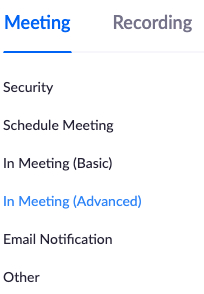
- Click In Meeting (Advanced).
- Toggle on Closed Captioning and check the box for live transcription. Click Save.
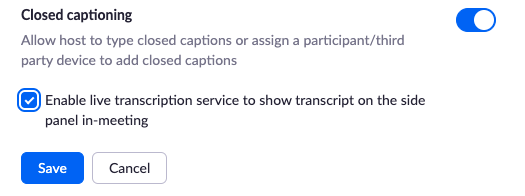
- After turning on closed captioning, Save Captions is turned on by default. If you don’t want participants to save the meeting transcript, disable Save Captions.

During the Zoom meeting
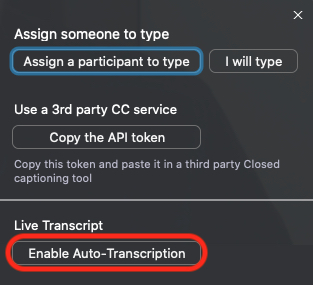
- To start Live Captioning, the meeting host clicks the Live Transcript button.

- At the bottom of the dialog box, click Enable Auto-Transcription.
Meeting participants can now click the Live Transcript button to view Live Captions.
Save the Transcript
Participants can save the transcript when the meeting host enables the Save Captions setting in their personal meeting settings. The machine-generated transcript can be saved as a text file by the meeting host and participants.
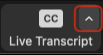
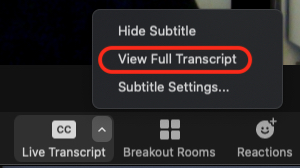
- In the meeting toolbar, click the upward arrow next to the CC icon to expand the Live Transcript option menu.
- In the option menu, click View Full Transcript.
- In the transcript window, select Save Transcript. The transcript file is now saved to the default Zoom folder on your computer. To view the file location, click Show.