Follow this guide to learn about manually uploading Zoom recordings to Panopto. Automatic transfer of Zoom recordings to Panopto is available to UW Canvas users.
Manually uploading Zoom recordings to Panopto is a two-part process.
- Make sure the meeting host downloads the recording to their computer
- Upload the recording to Panopto
Recordings in the Zoom Cloud
- Meeting host sign into https://washington.zoom.us.
- In the left-hand navigation, click Recordings.
- In the column titled Topic, click the title of the meeting you wish to download a recording for.
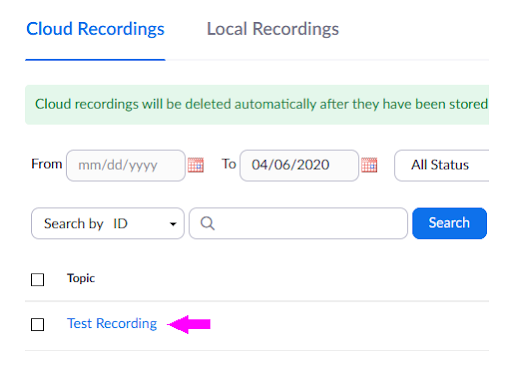
- Next to the recording you want to download, click the Download button.
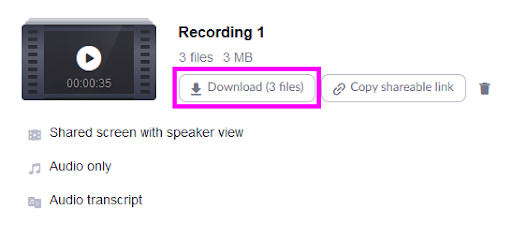
- Follow the prompts on your computer to save the files to your computer.
Please note that depending on your recording settings, there may be more than one file to download. The video file you will be uploading to Panopto will have the file extension .mp4.
For Local Recordings
Recording file should already be saved on the meeting host’s computer.
By default, all recordings will be placed in a Zoom folder found in the following file path on these devices:
- PC: C:\Users\User Name\Documents\Zoom
- Mac: /Users/User Name/Documents/Zoom
However, if you have customized the file location for your recordings, they will appear at that designated location. See the Zoom guide to finding and viewing local recordings.
Upload the recording(s) to Panopto
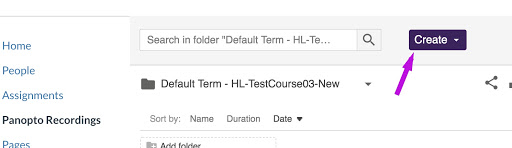
- In your Canvas course, from the course menu on the left, select Panopto Recordings.
- Click the purple Create button.
- Click Upload media.
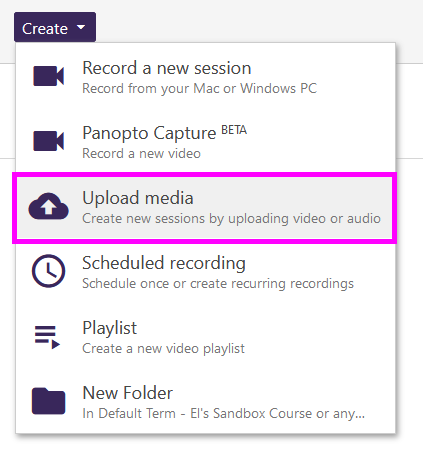
- To upload the Zoom recording file (extension .mp4) , you can either (a) click and drag the file into the box in the middle of the page, or (b) click the box in the middle of the page to browse through your files and select the correct recording file.

- A loading bar will appear as the recording uploads to Panopto. Once the upload is complete, you can close out of the window.
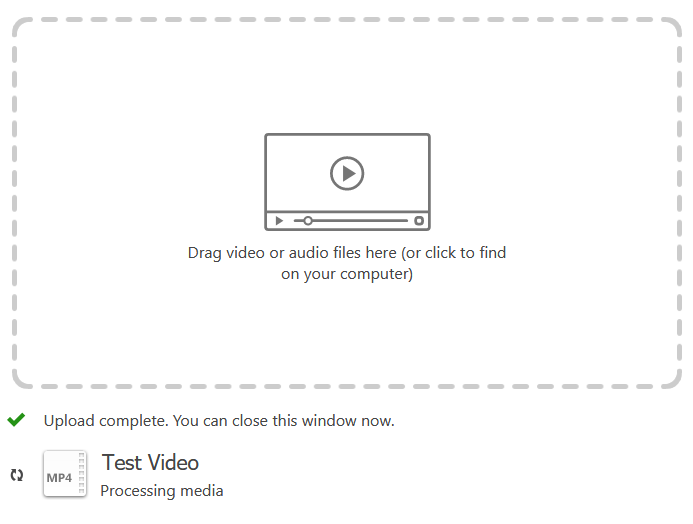
- Once the video has uploaded, it will take some time to process in Panopto servers before it is viewable by you and your students. This time will depend on the length of the video and the demand in Panopto’s servers, ranging from a few minutes for short videos to a full day for longer videos.
- When the video is ready to view, the title of the video will change from gray to blue on your Panopto Recordings tab in Canvas.