Autopilot is a collection of cloud-based technologies which leverages Microsoft Intune to automate the set up and pre-configuration of new Windows devices, getting them ready for productive use without the need for the device on-premises or touched by IT.
You can also use Windows Autopilot to reset, repurpose and recover Windows devices. To do so, you may need to return the device to the initial installation state of Windows if it wasn’t previously setup with Autopilot.
The CDW-G for Autopilot enrollment item name is “CDW Autopilot Base Deployment” and the part number is: 6154305 and the price for enrollment is $10

If you’re an IT Professional interested in enrolling already purchased devices, the hardware information from your devices will need to be collected and uploaded. There are directions for this process here.
- Unpack the equipment and make all physical connections, included a wired network connection if available For wireless connections, instructions are included below. Once all the connections have been made, power on the computer.
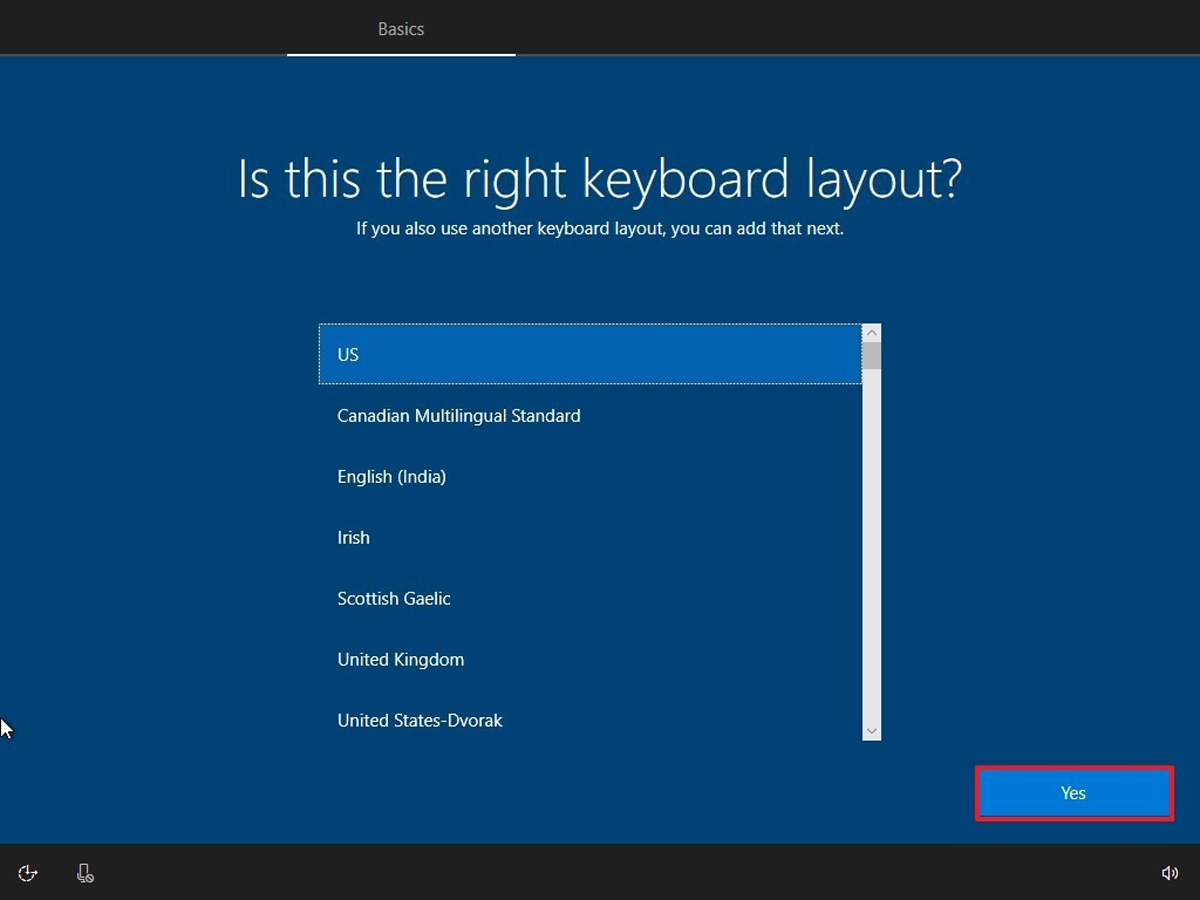
- You will see a varying set of setup screens, please note, these screens often change and all of these options may not appear during each setup process. This does not mean the process is not working.

- For wireless connections, the following screen will be displayed. An internet connection is required for the Autopilot process.
- Select the name of the wireless network
- Click “Connect automatically” then click “Connect”
- Enter the network security key (password) for the wireless network
- Select “No” to your PC being “discoverable by other PCs and devices.”
- Click “Next” to proceed

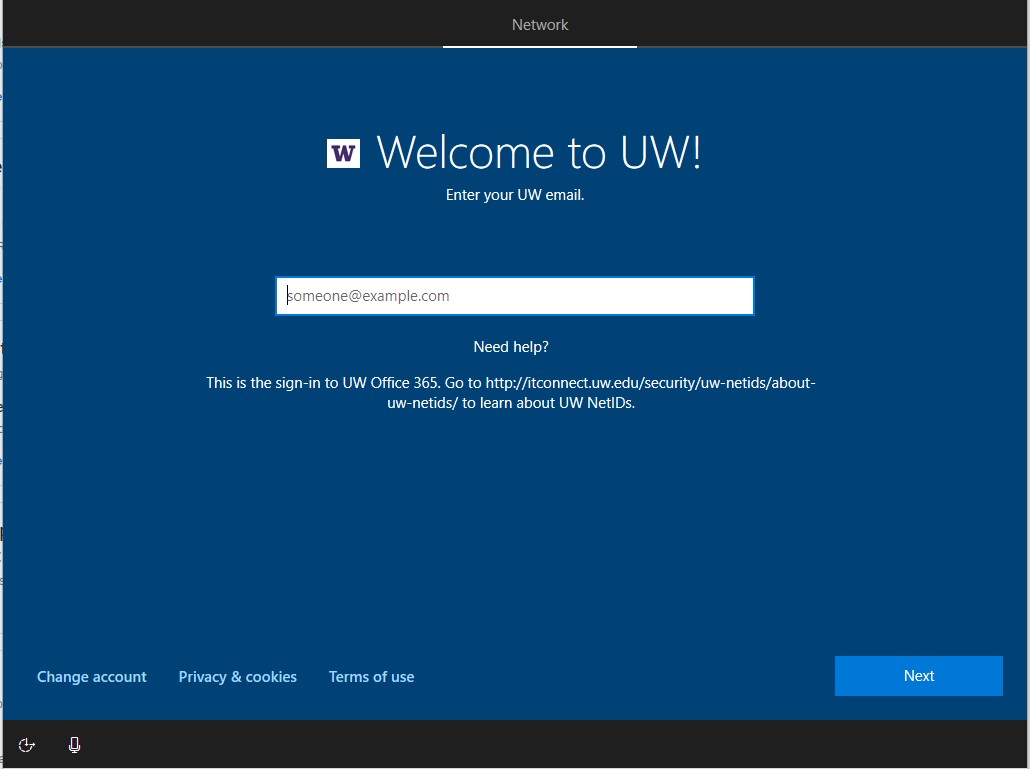
- Enter your UW NETID credentials (e.g. <netid>@uw.edu), click “Next”
(Please note: your account must be assigned an O365 A3/A5 license to successfully enroll)
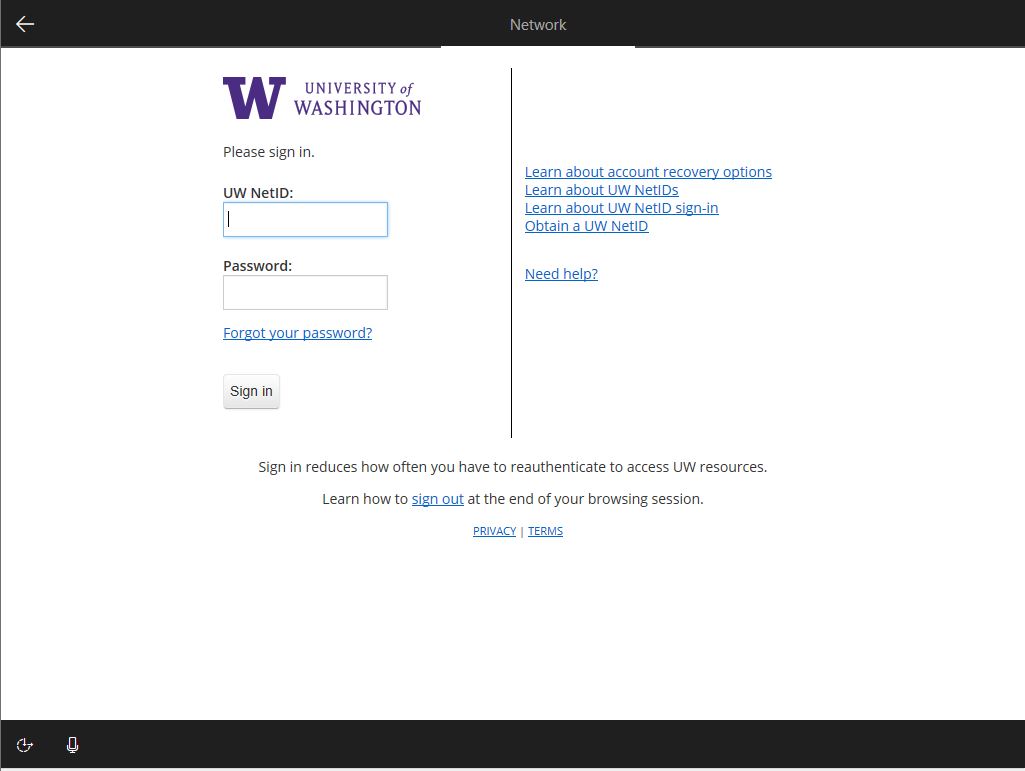
- Complete the familiar UW login
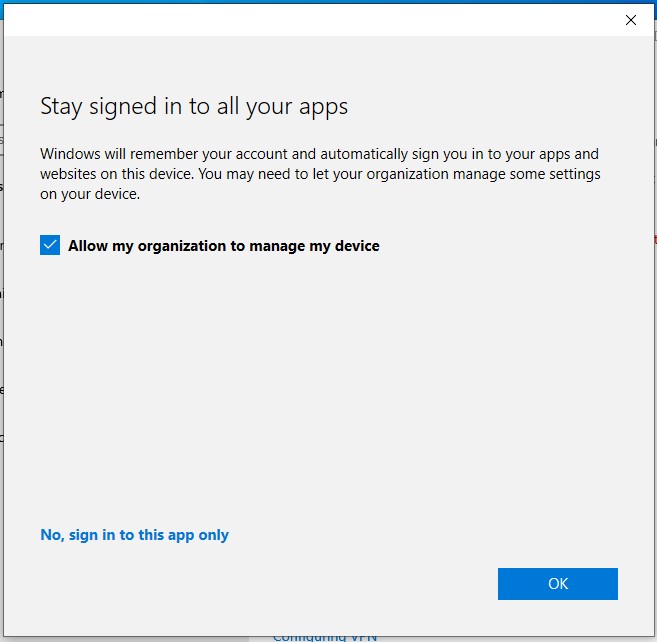
- Your device will now begin the Windows 10 setup for usage on the UW network – you will again, see a set of screens similar to these.


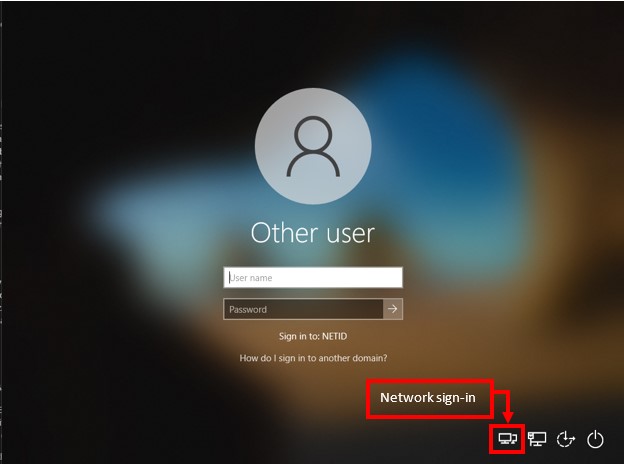
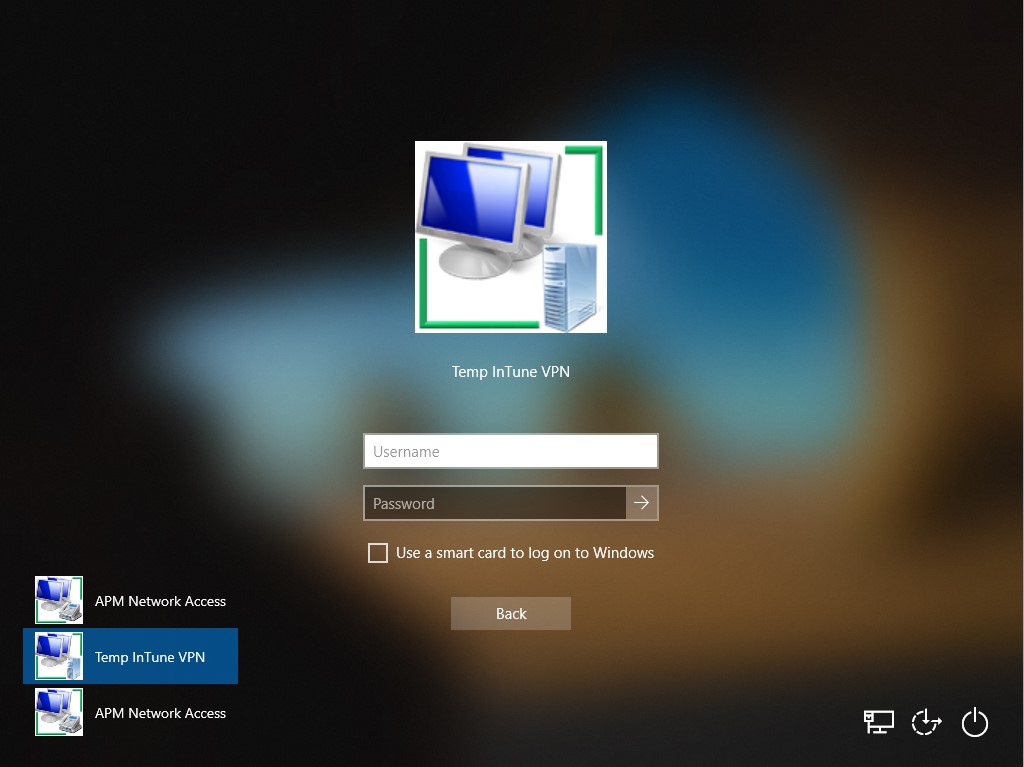
- After Windows 10 is setup use the Network sign-in button to login using the Intune VPN. To do so:
- Choose the “network login” from the initial login screen
- Make sure that the Temp InTune VPN is selected in the lower left-hand corner
- Enter your NETID login information and press Enter.
- After you have logged in you must enable the Microsoft Intune Management extension. To do so:
- Navigate to Settings –> Accounts and select “Access work or school” from the menu on the left
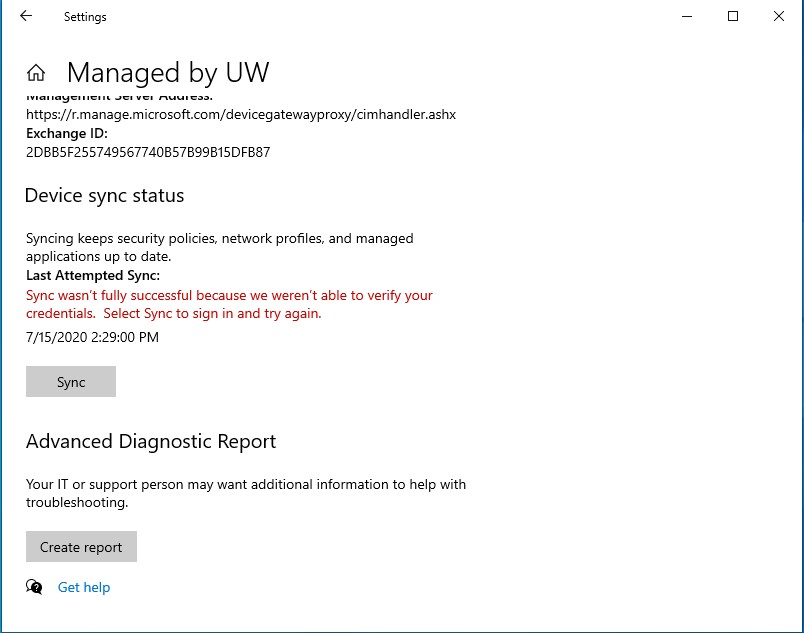
- Select “Connected to NETID AD domain” and click the “Info” button
- Scroll down to Device Sync Status and click “Sync”

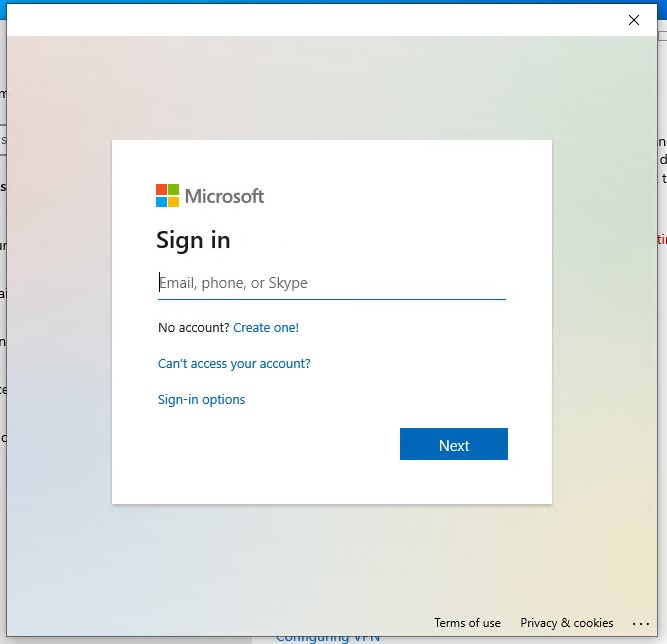
- If prompted enter your UW email address and then login with your NETID credentials
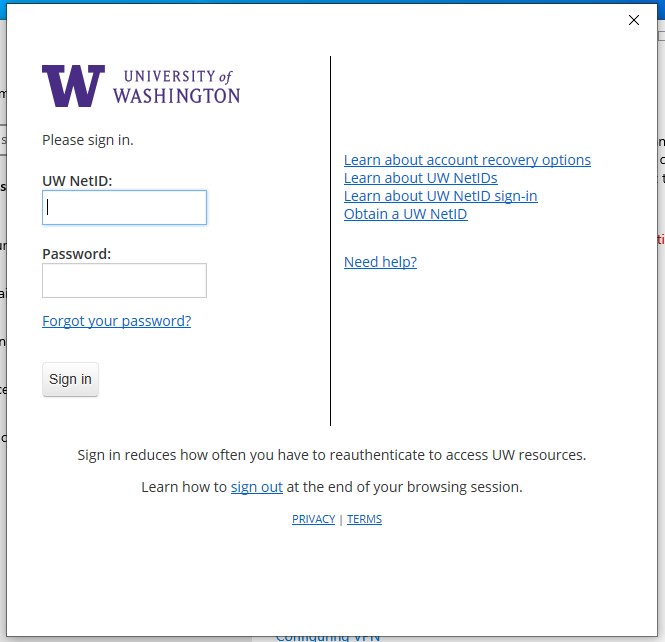
- Click OK + Done

After the Autopilot process is complete, verify that Microsoft Office applications and Husky OnNet are working. Additionally, decide who will manage this computer and take the appropriate steps based on that decision.