New changes are coming to the “University of Washington” Wi-Fi network. As part of our ongoing efforts to enhance our wireless network and provide you with a better online experience, we will implement changes to the “University of Washington” wireless networks to provide easier guest access to non-UW patrons and onboarding assistance for eduroam.
- On This Page
- Making the internet work for you
- Step 1 – Before you connect
- Step 2 – Making the connection
- Step 3 – Using the connection
Making the internet work for you
Welcome to the University of Washington! We are glad that you are here, and we want to help you get connected to all the computing resources that the University provides to you. This guide is designed to make connecting your computer to the UW network as painless as possible. UW Housing includes UW residence halls and UW-owned apartments.
Your UW Housing room is equipped with access to the high-speed campus Ethernet network. This gives you fast access to email, UW Libraries, the MyUW website, UW class pages and information on the Web anywhere in the world. To connect your computer to the campus network, you need:
- If you are in a residence hall that does not have UW-IT managed wireless, you will need a computer with a 100/1000 Mbit/s Ethernet port and a cat-5e Ethernet cable.
- If you are in a residence hall where UW-IT provides wireless service you will need a computer with a wireless card that supports any combination of 802.11n/ac/ax.
- Software available on the Securing Your Computer page provides all the virus protection, terminal session and file transfer software you need to securely connect to and use UW computing and networking services.
- If you are living in a triple, the room may not have enough wall jacks to provide one connection per person. For these rooms, you will need to obtain a network switch.
It is important that you know that the Internet is not always a safe place. Having high-speed access to the Internet is an important advantage for you in your studies. However, it also means that others have high-speed access to YOUR computer, YOUR files, and YOUR data! You need to take the steps in this document to protect yourself against viruses and other “bad” software being installed on your computer.
Step 1 – Before you connect
There are important steps that you should take BEFORE you get a working network connection. You’ll want to be sure your computer has:
- Working and up-to-date antivirus software installed
- All the available operating system updates installed
- Configured to automatically download and install updates
The Secure your computer page provides all the virus protection, terminal session and file transfer software you need to securely connect to and use UW computing and networking services.
Step 2 – Making the connection
Connecting to the UW-IT managed wireless network
If you live in a new residence hall or one that has been newly renovated, you will be able to connect to the UW-IT managed wireless network. To do this, you will need to have a computer with a wireless card that supports any combination of the 802.11a/g/n/ac/ax protocols. 802.11ac/ax is preferred and will give you higher throughput.
- StepsActions
- Ensure your device is switched on.
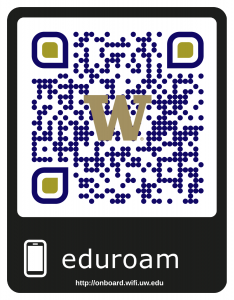
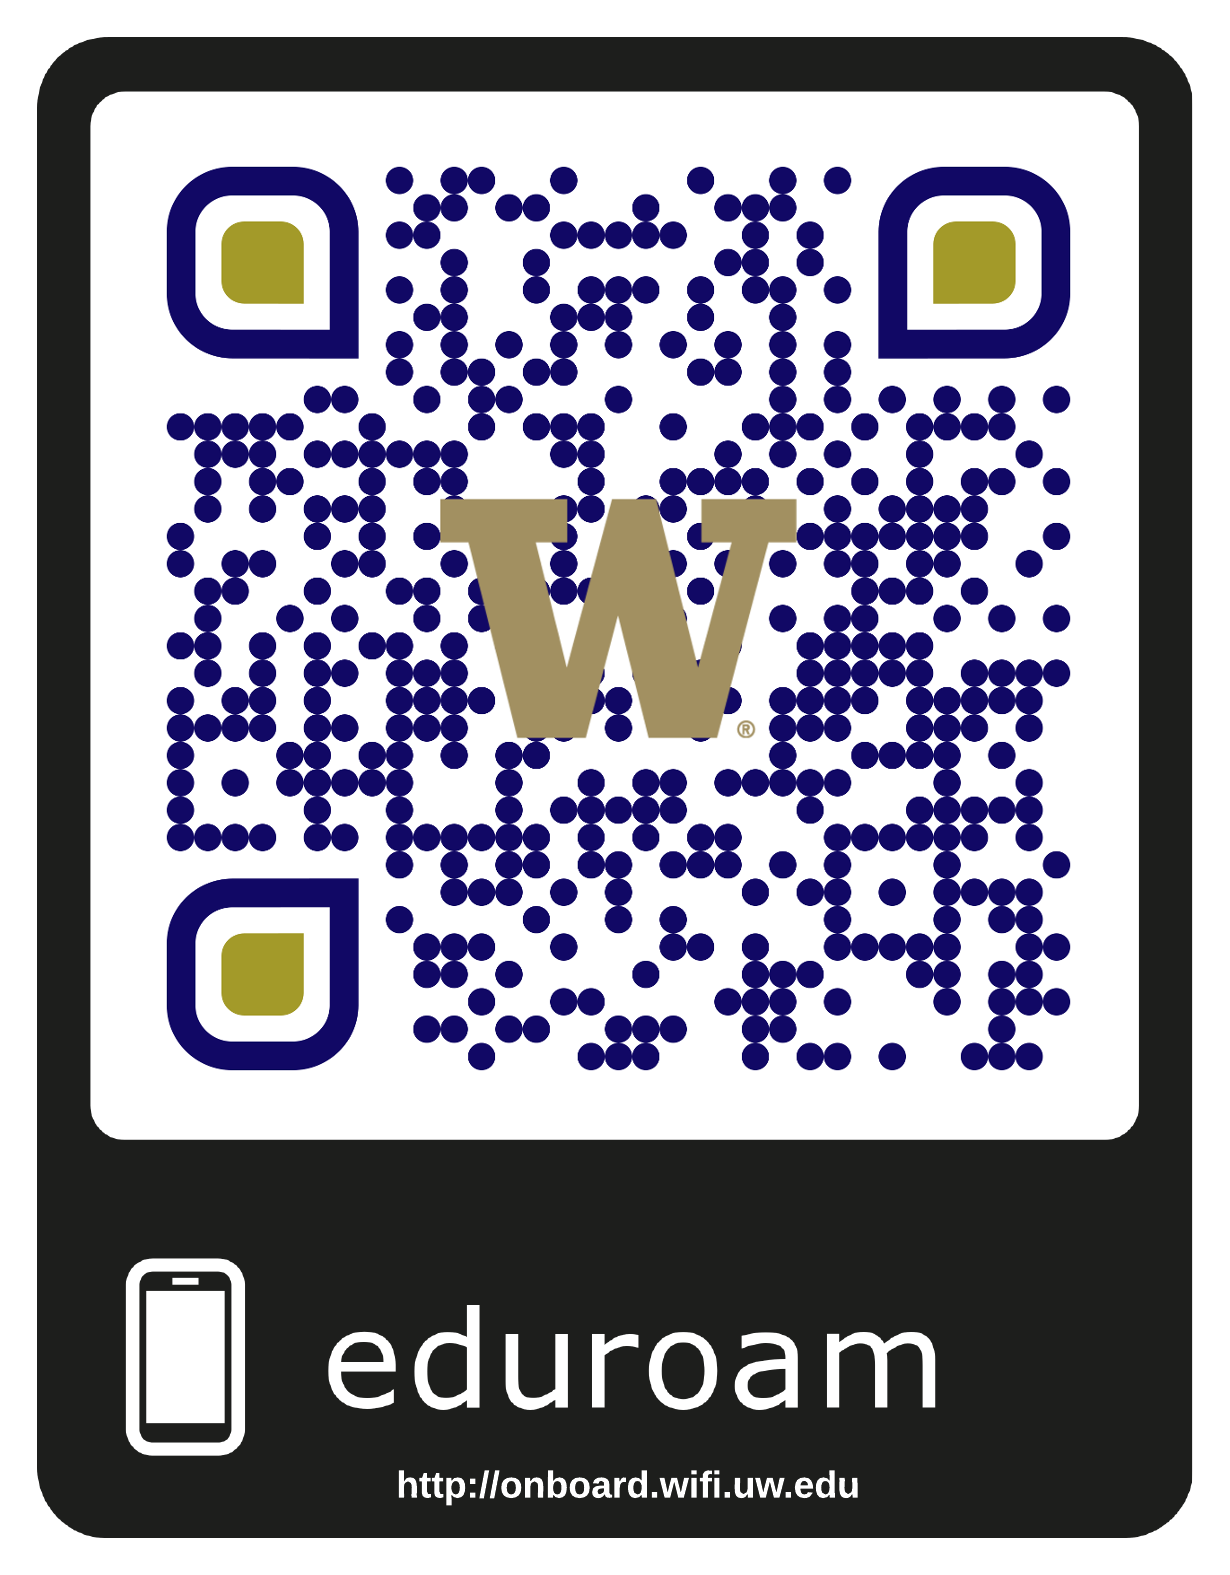
- Make sure your wireless adapter is activated and confirm you’re in a campus WiFi coverage area. You can do this by opening your WiFi settings menu and looking for the “eduroam” and “University of Washington” wireless network.
- Once you’ve confirmed you’re in a campus WiFi coverage area, connect to the “University of Washington” wireless network. If your device automatically opens the mini-browser, close it and open your web browser of choice. Do not enter your NetID and password if prompted, instead enter the URL http://onboard.wifi.uw.edu and follow the prompts to onboard your device.
- Once your device has been on-boarded, you will have full access to UW resources and the Internet.
Residents are not permitted to have their own wireless routers in areas where there is UW-IT managed wireless available. See the Wireless Routers in UW Residence Hall Rooms page.
Connecting to the wired network in your room
- StepsActions
- You DO need a cat-5 Ethernet cable long enough to reach from your computer to the Ethernet wall jack. Cables can be purchased at the University Book Store or online.
- Your computer DOES need a functional Ethernet (10/100/1000Mbit/s) port.
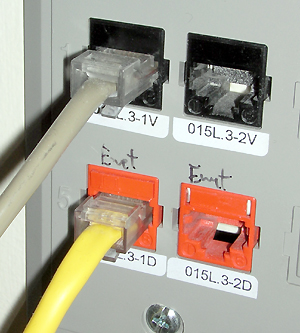
- With your computer powered OFF, plug in one end of the drop cable to the ORANGE colored wall jack (see above) and the other to your computer’s Ethernet port. Be careful here, it is probably your one big chance for a mistake. The OTHER wall jack is for your telephone, and won’t work for Ethernet, even though the cable might fit.
- Turn on your computer and start browsing the Web!
If this did not work, then
- StepsActions
- Check to make certain that you have plugged your Ethernet cable into the ORANGE wall jack.
- Check to make certain that you have plugged your Ethernet cable into the Ethernet port on your computer and not into your modem port.
- Check that your Ethernet port is configured properly. If you’ve previously configured your computer’s Ethernet port to use something other than the usual defaults, you must set it back to the defaults. The most important setting is to “use DHCP” or “Obtain IP address automatically.” Also, be sure to select “Obtain DNS server address automatically.”
- If you are living in a triple resident room, you won’t have enough wall jacks to provide one per resident. In this case a “network switch” can be used.
If you are still having problems, then
- StepsActions
- Check to make certain that your Ethernet cable is not defective. Try using a different Ethernet cable.
- Very rarely, but it happens, you might have a bad Ethernet port on your computer. You should check your warranty and have your computer serviced.
- If you are still having problems configuring your device please contact the UW-IT Service Center.
Step 3 – Using the connection
Confirm that you have completed STEP 1 and that you have antivirus software installed, active, up-to-date, and configured to automatically update.
Confirm that you have configured your computer itself to perform automatic updates of the operating system: