Owner’s Guide: Administer a list

Last updated: May 30, 2023

This information applies to: New Mailman

Please note: This documentation is still undergoing quality check. The final version will be published soon.

Add or delete list owners

  1. Log in to your main Mailman page.

    • In the address window of your web browser, enter lists.uw.edu.
    • Near the top of the page, click Login, and then enter your UW NetID and password.
    • Select the Owner role and click the name of your list.
  2. In the menu at the top of the page click Users. From the drop-down menu, select Owners.
    screen capture add/delete owners
  3. You will see a List owners section where all of the current owners are listed.
  4. To add an owner, enter their email address and display name (optional) and click the Add owner button.
  5. To remove an owner, click the Delete key next to their name.
  6. Click the Remove (email) to confirm.

Add and remove list moderators

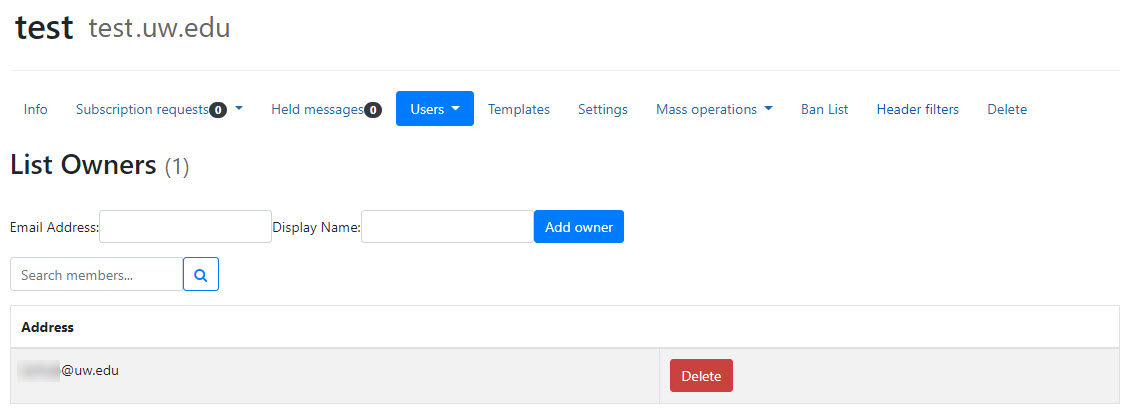
To add a list moderator

  1. Log in to your main Mailman page.

    • In the address window of your web browser, enter lists.uw.edu.
    • Near the top of the page, click Login, and then enter your UW NetID and password.
    • Select the Owner role and click the name of your list.
  2. In the menu at the top of the page click Users. From the drop-down menus, select Moderator.
  3. Enter the email address and the moderator’s name (optional).
  4. Click Add moderator.

To remove a list moderator

  1. Log in to your main Mailman page.

    • In the address window of your web browser, enter lists.uw.edu.
    • Near the top of the page, click Login, and then enter your UW NetID and password.
    • Select the Owner role and click the name of your list.
  2. In the menu at the top of the page click Users. From the drop-down menu, select Moderators.
  3. Click Delete To confirm the removal, on the next screen, click Remove moderator.

Assign a password to moderators without UW NetIDs

If your moderator does not have an @uw.edu email address, go to the Passwords configuration category and assign a moderator password. Note: If your moderator does have an @uw.edu email address, they will be able to log in to the moderation page with their UW NetID and password.

Error messages

If Mailman cannot interpret a particular bounced (rejected) message error, it will be forwarded to the list owner. It can be difficult to interpret Mailman error messages – especially if Mailman was unable to. You can ignore much of the message as long as you know what’s important to focus on. Look for a line that says something like:

Mail could not be delivered to:

followed by an email address. Now you know whose email is bouncing and sometimes you will see the reason for bouncing right after the email address.

Feel free to wait a few days or a week to decide whether the reason is temporary or permanent. If you continue to receive error messages from the same subscriber, you’ll probably want to remove that subscriber from your list. If you need assistance deciphering the message, forward a copy of it to help@uw.edu.

Delete Your List

If you decide that you no longer need your Mailman list, select Delete in the top navigation. Note: deletes are permanent, and the list cannot be retrieved.

Handling bounce error messages

When email to a subscriber bounces (meaning that the message is rejected by the Mailman server), Mailman attempts to extract two pieces of information from the message:

  • The email address of the subscriber whose email is bouncing.
  • The severity of the problem causing the bounce.

If no email address for the subscriber can be extracted from the bounce, then the bounce is usually discarded.

The severity of the problem can be labeled as either hard (meaning a fatal error) or soft (meaning a temporary error occurred). When in doubt, a hard severity is assigned.

Each subscriber is assigned a bounce score. Every time Mailman encounters a bounce from this member, the score increases. Hard bounces increase the score by one, while soft bounces increase the score by 0.5. However, bounce scores are increased only once per day, so even if ten hard bounces are received for the same subscriber in one day, that subscriber’s score will increase by only one for that day.

To adjust settings regarding bounced messages

  1. Log in to your main Mailman page.

    • In the address window of your web browser, enter lists.uw.edu.
    • Near the top of the page, click Login, and then enter your UW NetID and password.
    • Select the Owner role and click the name of your list.
  2. In the menu at the top of the page click Settings and select Bounce Processing from the left navigation.

By adjusting the Bounce Score threshold and Bounce info stale after settings, you can control how quickly members with bouncing email are disabled. You should set both of these based on the frequency and traffic volume of your list.

To adjust select bounce settings

  1. Bounce info stale after: After a certain period of time during which no bounces from the subscriber’s address are received, the bounce information is considered stale and discarded. Owners can specify the number of days after which a member’s bounce information is considered stale.
  2. On this screen, you can also
    • Select to notify owners when a member’s subscription is disabled (Notify owner on disable)
    • Select to notify when a member’s subscription is removed (Notify owner on removal)
    • Specify the number of messages (Bounce disable warnings)
    • Specify the frequency (Bounce disabled interval) with which the reminders are sent.Bounce Score threshold: When a member’s bounce score exceeds the list’s bounce score threshold, the subscriber’s subscription is automatically disabled. Once disabled, the subscriber will not receive any postings from the list until their membership is explicitly re-enabled (either by them or the list owner). However, they will receive occasional reminders that their membership has been disabled, with information about how to re-enable it.
  3. When finished, click the Save Changes button.