The UW regularly updates its two-factor authentication (2FA) features to provide secure sign-ins. Major updates are highlighted on this page.
This page design to keep you informed about the trusted UW 2FA experience and explain any changes. If you have questions about the security your 2FA experience or need help with UW 2FA, please contact help@uw.edu.
New Changes
The UW has updated the process for registering your 2FA devices and added support for new authentication methods. No action is required from you, but here’s what’s new:
New Device Registration Experience
You can add, remove, or review your 2FA devices at https://identity.uw.edu/2fa. While the location remains the same, the page has a new look. You will now need to click a button to open the updated page.
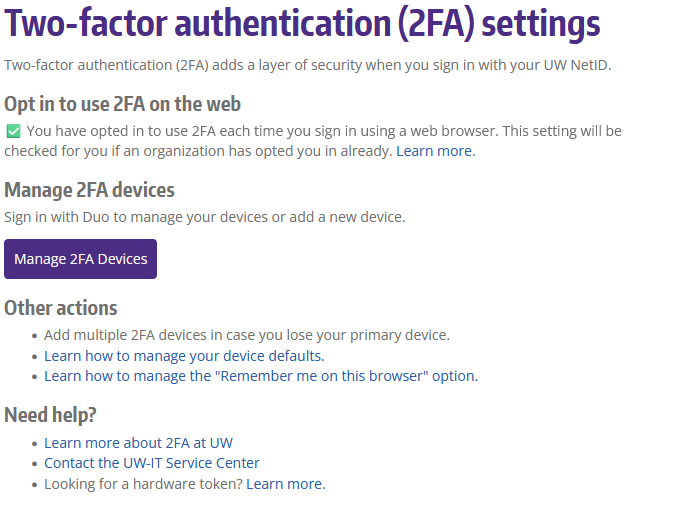
Pictured above, the new device registration experience
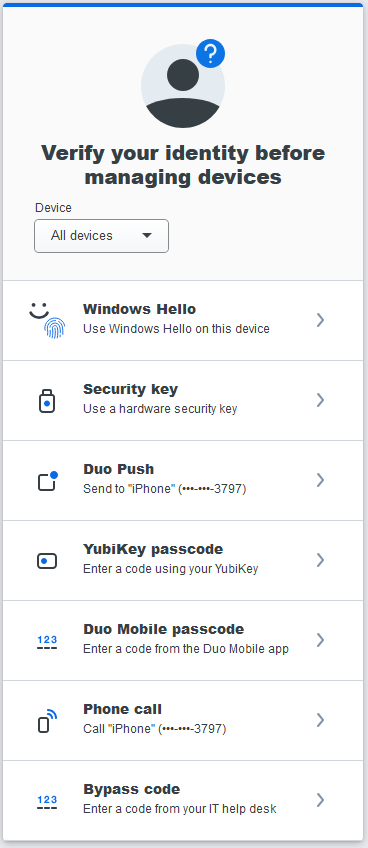
Pictured above, the new “verify your identity” step

Pictured above, the new device registration page
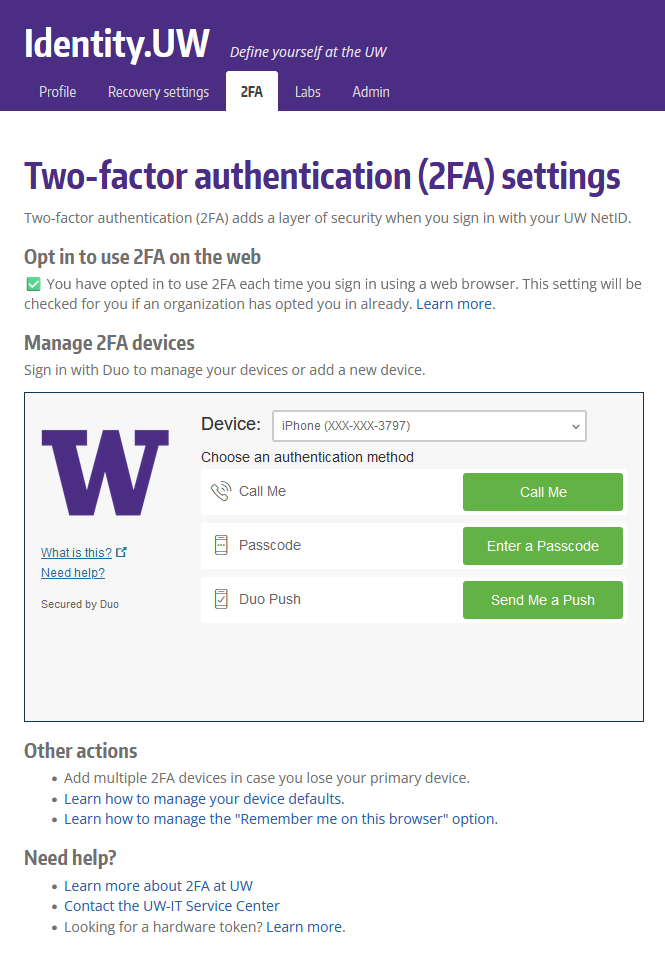
Pictured above, the old device registration experience
New Look for Registering Devices
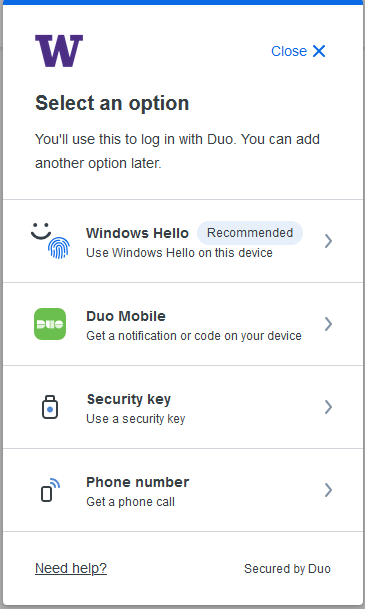
Selecting “Add a device” allows you to add “Duo Mobile”
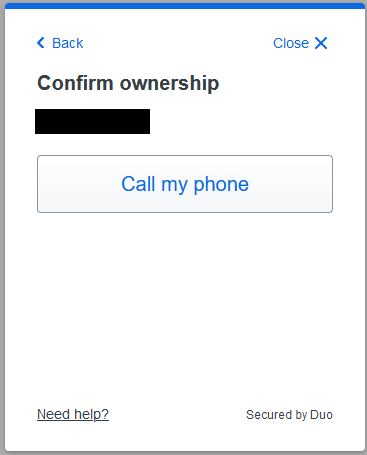
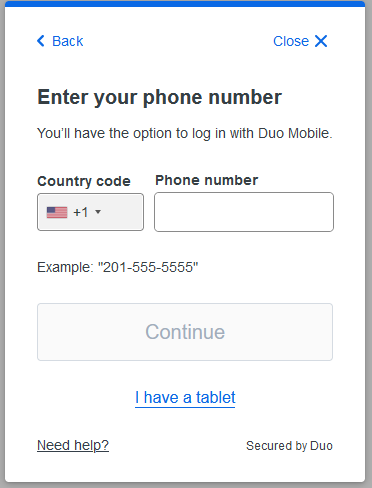
Demonstrate you control your phone number
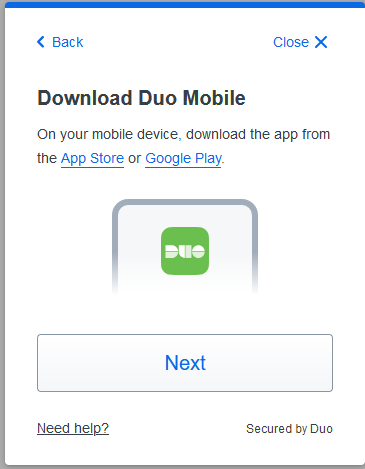
Make sure you have Duo Mobile downloaded
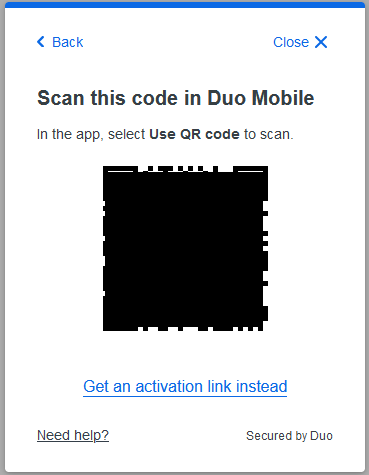
Scan the QR code with your phone via Duo Mobile
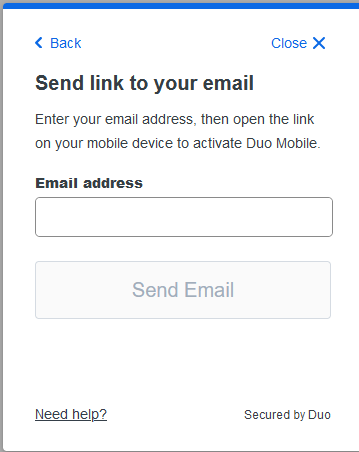
If you don’t scan the QR code, you can instead email yourself the activation link
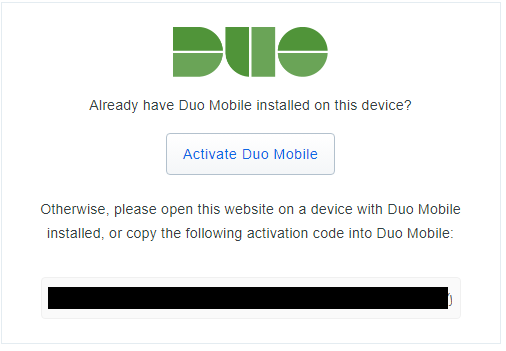
Clicking the email activation link allows you to activate directly
Platform authenticators are a new way to do authentication that utilize the biometric passkeys on your device. Platform authenticators are only available as a method of authentication for the device they are set up on (so if you set up your phone, you can’t select the phone’s platform authenticator when on your computer). The prompts to set up your platform authenticator will be specific to your device, but the example screenshots are included below for examples.

Selecting “Add a device” allows you to add a platform authenticator
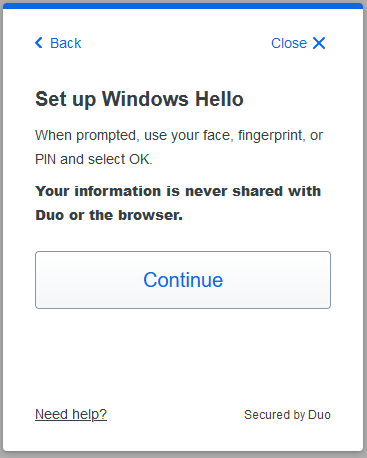
On windows devices, you can utilize the “Windows Hello” platform authenticator
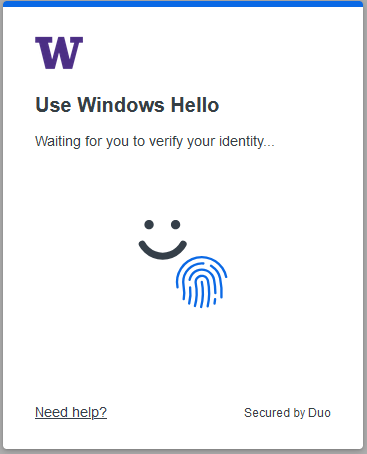
You can follow the prompts from your browser to finish setting up the platform authenticator
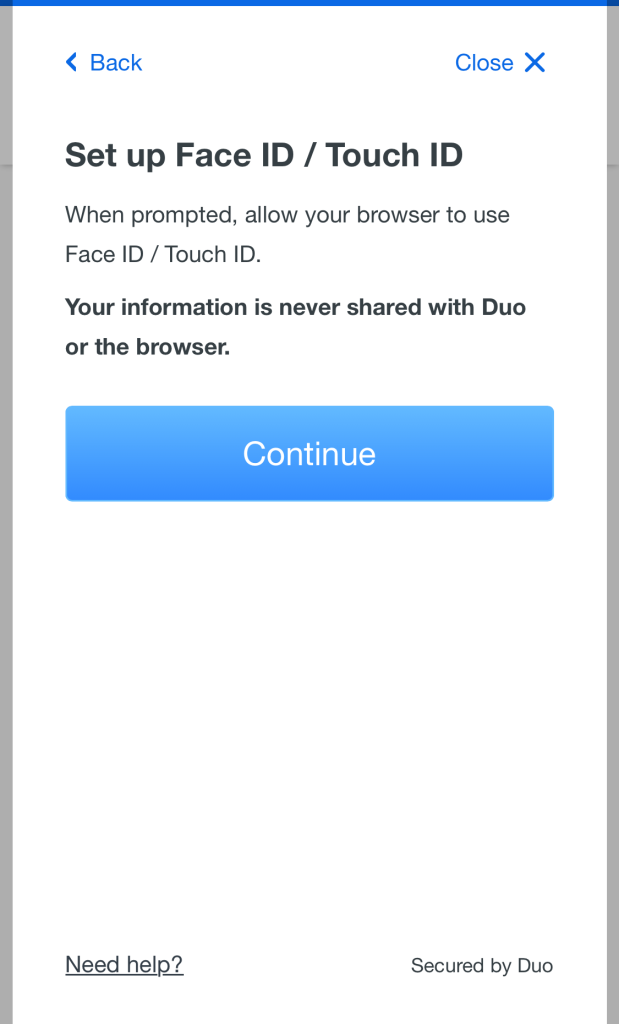
On an apple device, you can set up FaceID/TouchID
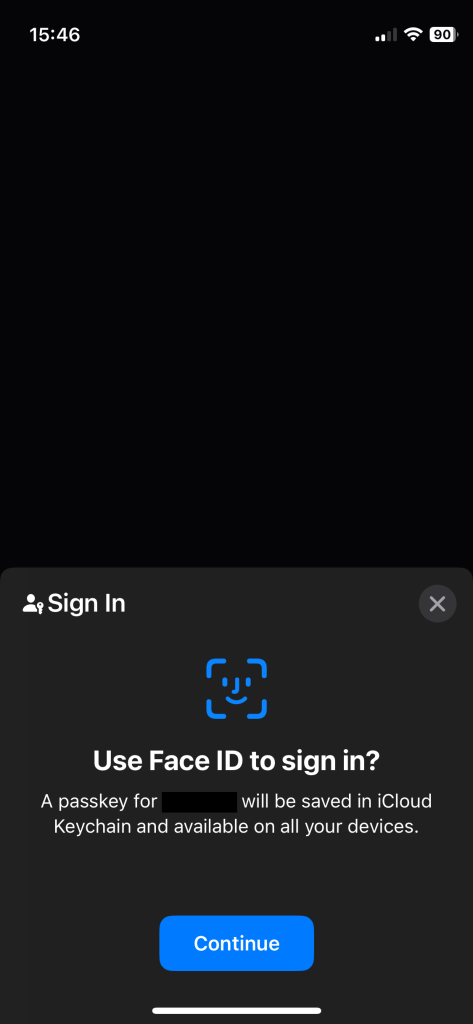
You will need to save the keychain in the iCloud keychain. If you don’t have your secrets managed by the iCloud keychain, you may need to change your settings.
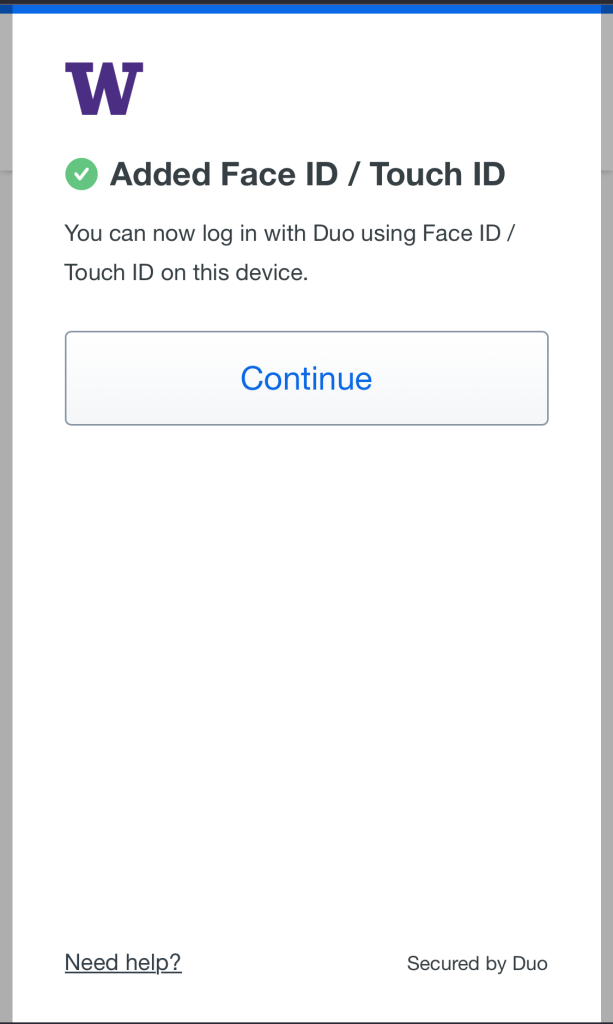
Once you are doing setting up, you are good to go

Selecting “Add a device” allows you to add a phone
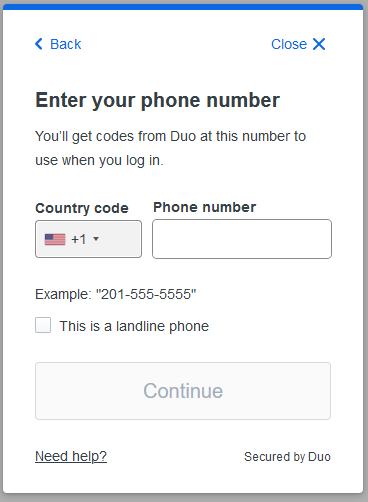
Enter your phone number, and if it is a landline select the checkbox.
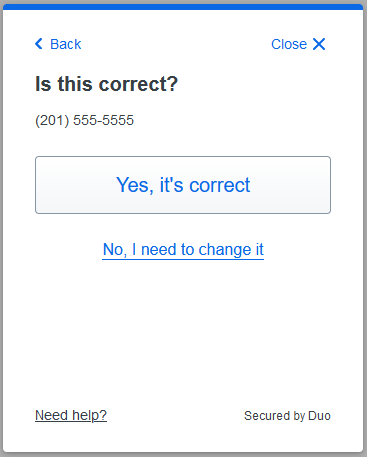
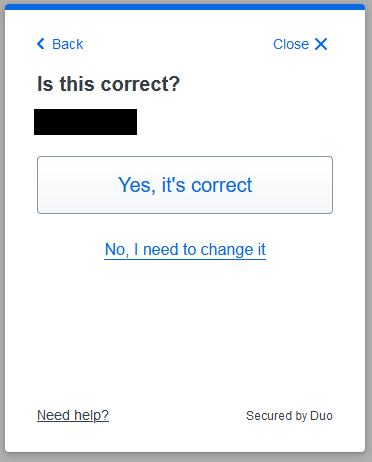
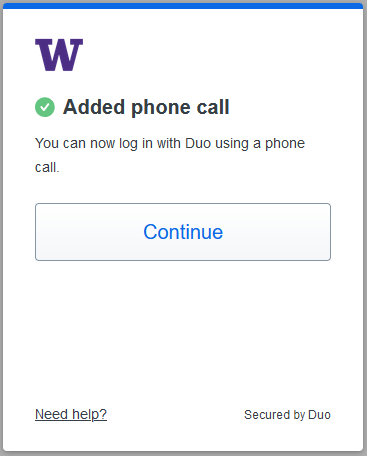
Confirm it is your phone number
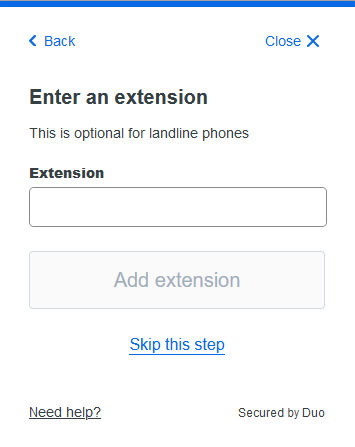
If you selected a landline on the first step and it has an extension, it can be added here. Otherwise, skip this step. You will continue the steps above.
New authentication methods enabled
Platform Authenticators
Platform authenticators are a new way to do authentication that utilize the biometric passkeys on your device. Platform authenticators are only available as a method of authentication for the device they are set up on (so if you set up your phone, you can’t select the phone’s platform authenticator when on your computer). The prompts to set up your platform authenticator will be specific to your device, and not all devices support Platform Authentication. Duo’s supported platforms are listed on their platform authenticator guide. How to set up platform authenticators can be found in the section above under “NEW: Setting up a platform authenticator” or on set up a platform authenticator.
Verified Push
Verified push is a more secure form of push based authentication, that requires you to type in the numbers shown on the screen into Duo Mobile. This form of “push notification” is considered more secure to push fatigue and other forms of attack. Verified push is not currently in use for integrations at the UW, but may start to appear in more secure applications. Application owners can read more about verified push on the altered 2FA experience page.
Previous Changes
Duo has updated the way 2FA looks during your sign-in experience. Documented below is the new and previous Duo behavior for reference.
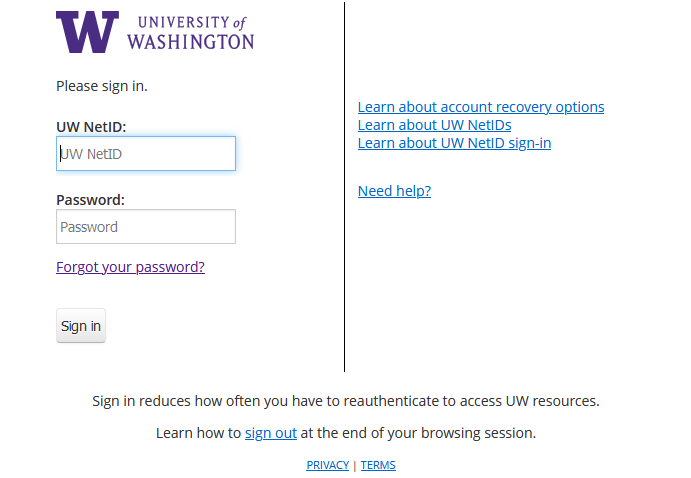
After providing your first factor (UW NetID and password), you are prompted to provide your second factor, which is your verification via Duo.
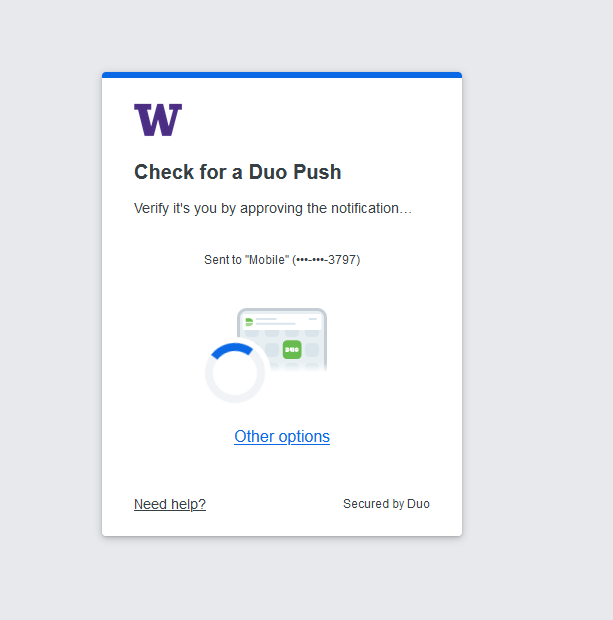
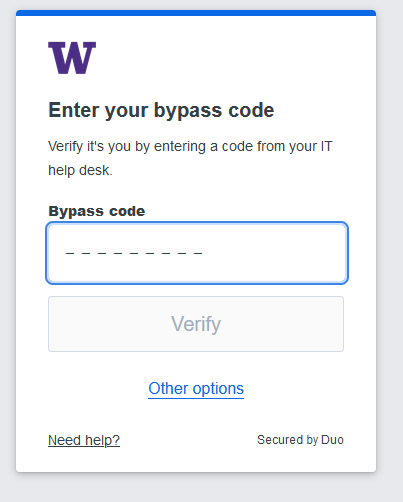
In the new Duo authentication, you will be automatically prompted with your last-used method. How you approve your Duo authentication method is not changing. However, with your first sign-in experience Duo may choose a method you do not typically use.
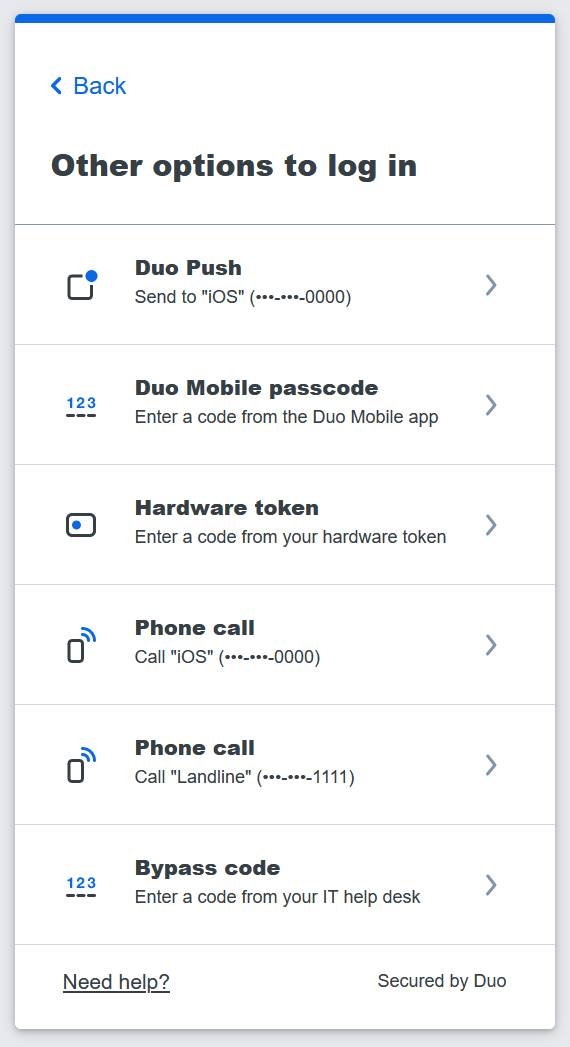
Many people at the UW prefer the Duo “Push” method for Duo authentication by default, while others choose passcodes or other methods. Note that if the “wrong” method is presented by default, you can choose “Other options” to select from a list of Duo methods (the available options will depend on what you have added at https://identity.uw.edu/2fa/ ). Any method you select when you’re first presented with the new Duo prompt will provide you the typical authentication experience.
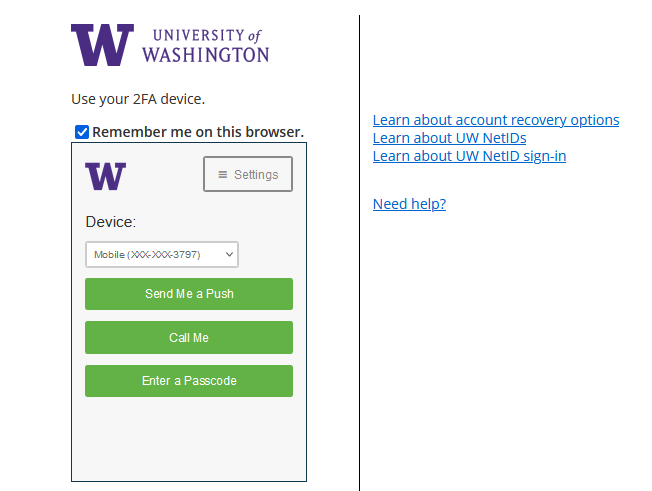
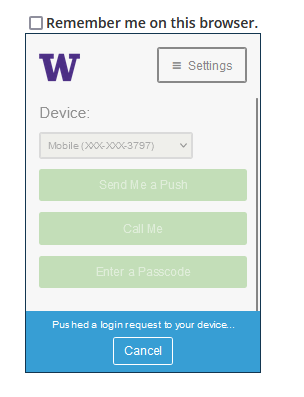
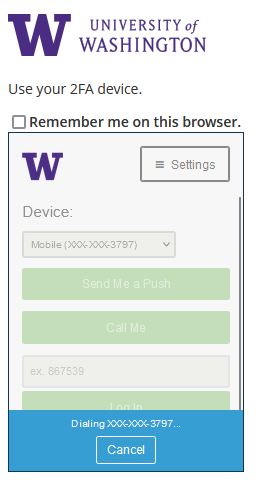
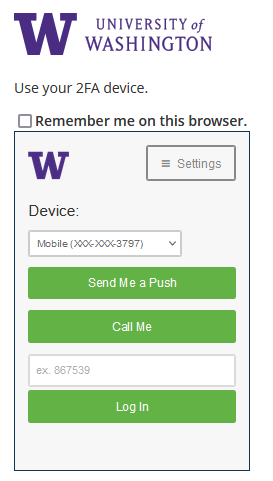
In the previous Duo prompt, you were presented with a different approach to choosing your authentication option. In this previous prompt, to see other available authentication options, you first had to click “cancel”.
With the new Duo prompt, there is also a change in the URL that Duo presents in your browser. You will see duosecurity.com in the address.
Note that “duosecurity” in the URL will be correct; you will no longer see “idp.u.washington.edu” in the web address when being asked for Duo.
Other legitimate UW applications and websites may display a different URL during sign-in, where you see something besides the two web addresses shown above. If the web address looks unfamiliar or suspicious, you should stop signing in, and not do any further authentication. You can instead take a screenshot and contact help@uw.edu, and provide the screenshot to have it checked as legitimate or not.
With the new Duo prompt experience, there is also a change to how to select “remember me” for future sign-ins. The actual handy behavior of “remember me” is not changing; you can read more about this at https://itconnect.uw.edu/tools-services-support/access-authentication/2fa/remember-me/.
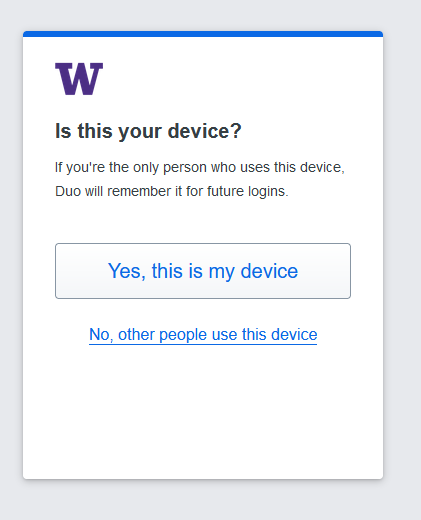
In the new Duo experience, you will be asked “Is this your device?” If you select “Yes, this is my device”, Duo will remember your device for the next 30 days just as “remember me” would do. If you select “No, other people use this device,” then Duo will prompt you for 2FA the next time you log in with that browser.
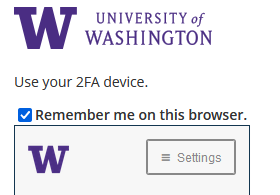
The language in the new process similarly mirrors the behavior of the previous “Remember me on this browser” check box. Unchecked, you would be prompted for Duo on your next sign-in with that browser, while checking it gives you a 30-day period where this browser would no longer require 2FA upon sign-in.
While the look and language have changed, the familiar behavior of “Remember me” stays the same.
Contrasting New and Old Duo Authentication Methods
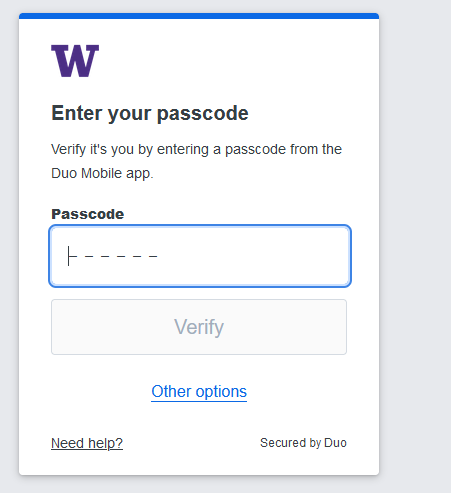
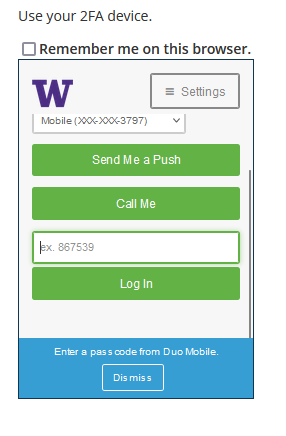
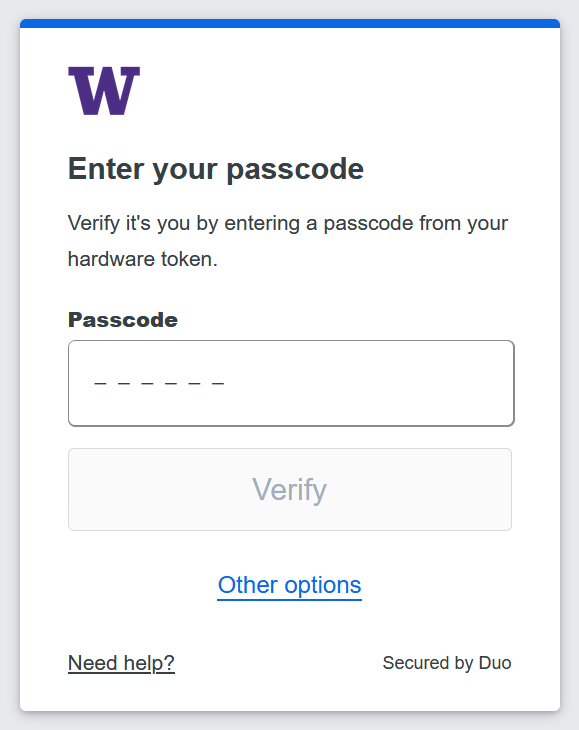
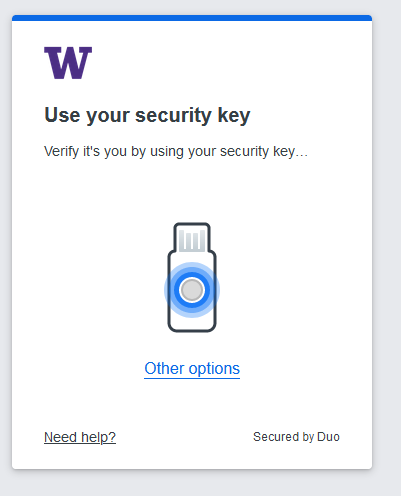
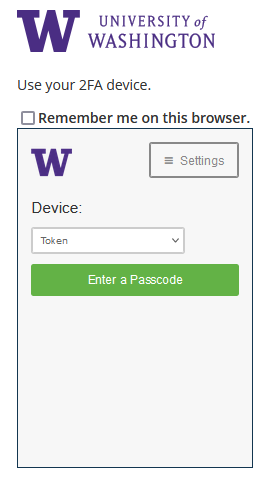
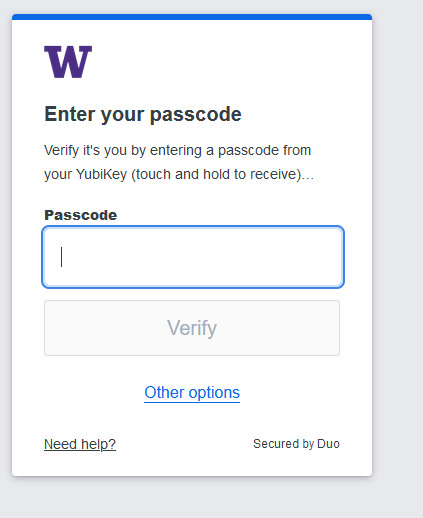
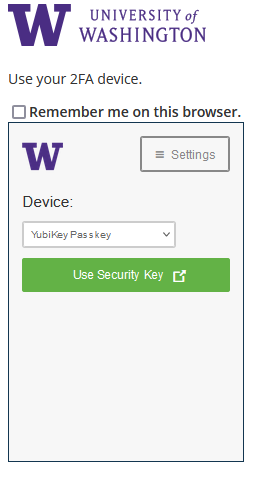
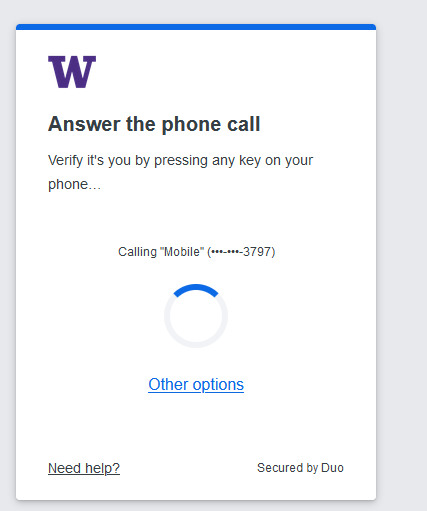
Previous changes to 2FA also updated the look while authenticating. Each method’s changes are captured below.

