This page describes how to install an image on a Managed Workstation, using a USB drive, the network, and our OSD image server.
- Enable your new workstation for Managed Workstation services.
- This step pre-creates a workstation account in the NETID domain so the SCCM OSD image process will automatically join it to the NetID domain.
- You will create a request by using the Enable Computer for MWS services form and wait for confirmation that your computer account has been created.
- If you don’t wait for confirmation before starting the image process, the SCCM OSD image process will complete but the computer will be unusable.
- If you’d like to request that specific UW NetIDs be added to the Local Admin Group, just include that info in the request follow-up.
- Note: Do not use an underscore character ( _ ) in the computer name. It is not a valid character.
- The SCCM OSD boot files are saved in I:\MWS\Tools\OSD
- How to create a bootable device:
- UEFI USB boot requires that USB disks should be have at least 4 gigabytes of capacity, the boot mode should be set to UEFI or UEFI native and not UEFI+CSM or UEFI Hybrid, and you may have to disable Fast Boot or Quick Boot on some systems.
- Via Disk Management, reformat flash drive. FAT32 strongly recommended, NTFS or exFAT may not boot successfully in all UEFI/BIOS configurations.
- Mark partition ‘active’.
- Copy all of the SCCM OSD boot files from I:\MWS\Tools\OSD
If that doesn’t work, completely clean the drive and prepare it for use with the following instructions:
- Launch a cmd window: Run as Administrator
- Windows 10, right click on the Start button and select Command Prompt (Admin)
- Launch the DiskPart utility by typing ”diskpart” at the Administrator elevated command prompt.
- Run the command: “list disk” to check the status of your drive.
- Run “select disk N” where the “N” is actually the corresponding number of your USB drive.
- You can most easily tell which is the proper disk by looking at the capacity
- Run “clean”. CAUTION: This will erase everything on the disk! Make sure you select the correct disk!
- Once the thumb drive is clean, run “create partition primary”.
- Select the new partition: “select partition 1”
- Now make the partition active by entering “active”
- Assign a drive letter with “assign”
- Format the drive as FAT32 by running “format fs=fat32 quick”
- Type “exit” to quit
- If you are still having problems locate and use bootsect with the following command: bootsect /nt60 X: (where X is your flash drive letter)

Select the Task Sequence that contains the Operating System and image version that you want to deploy. There are three image options, if you don’t know which image to choose, please contact Managed Workstation.
- Basic Desktop with Bitlocker: This image will install Windows 10 and enable Bitlocker on drive C:, the BitLocker Recovery Keys will be saved to Active Directory automatically. It will also install UW Brand Fonts, Firefox, Chrome, Office Professional 2016. If you want to encrypt C: drive in your computer , please use this image.
- Basic Desktop without Bitlocker: This image will install Windows 10 without enabling Bitlocker, it will also install UW Brand Fonts, Firefox,Chrome, Office Professional 2016. If you don’t want to encrypt your C: drive, please choose this image.
- Conference Room Machines: This image is used for building UW-IT conference room machines. It will install Windows 10 without enabling Bitlocker, it will also install notepad ++, UW Brand Fonts, Firefox,Chrome, JAWS, NVDA, ZOOM. This image is only for conference computer OS installation.
- Copper Desktops: This is a special image designed specifically for the UWINCO department. It should not be used by customers outside of that department.
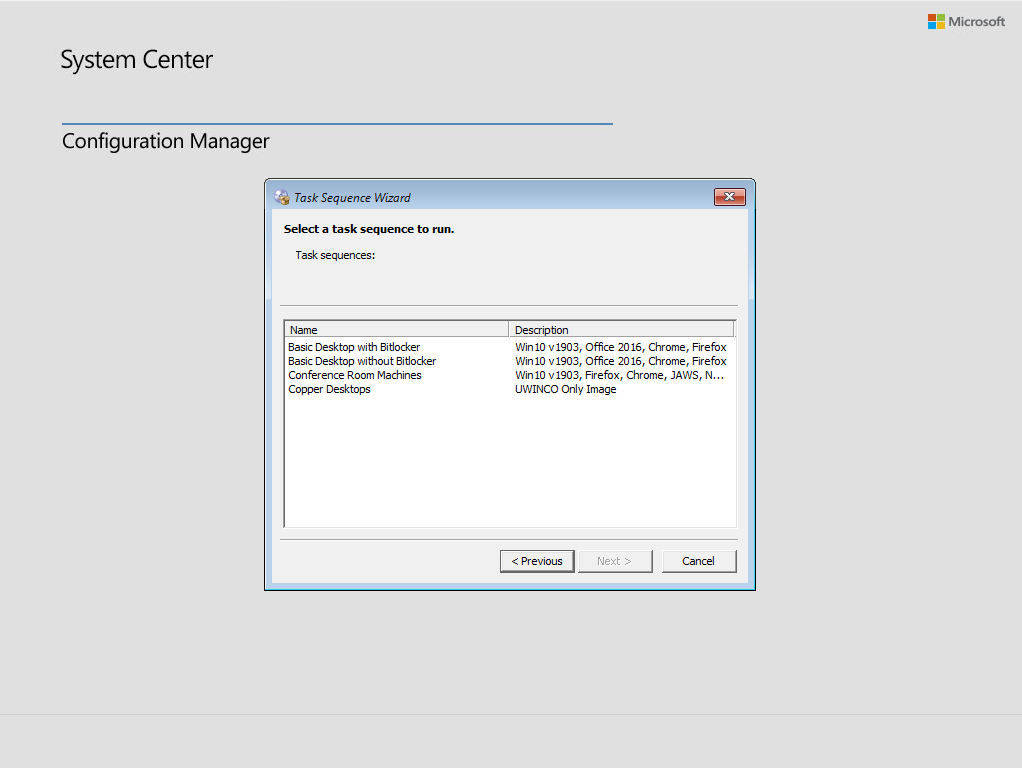
After you have chosen the OS you wish to deploy, click “Next”.
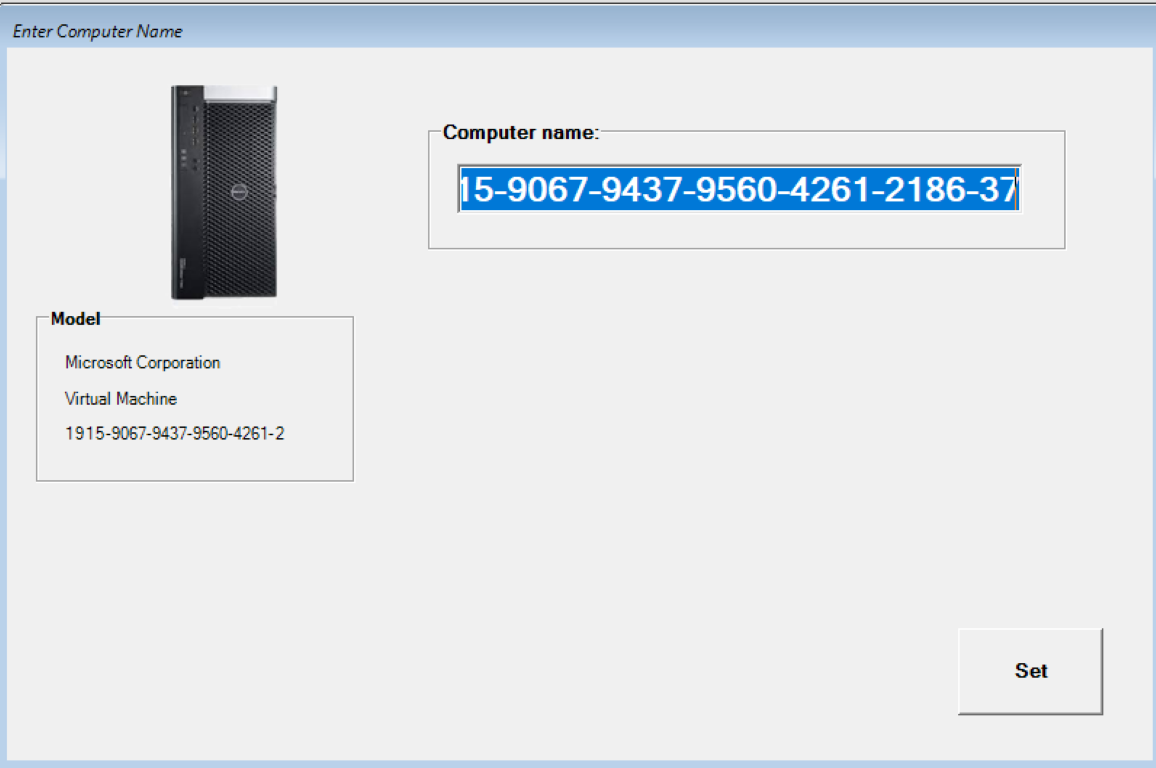
- The computer name field is automatically filled with the serial number of this computer.
- The computer name field must be the same as the pre-created object you requested in “Step 1: Claim Managed Workstation computer.”
- If the serial number matches the pre-created object, you don’t need to do anything here, otherwise, you need to edit the computer name field.
- Click “Set” to start the image process
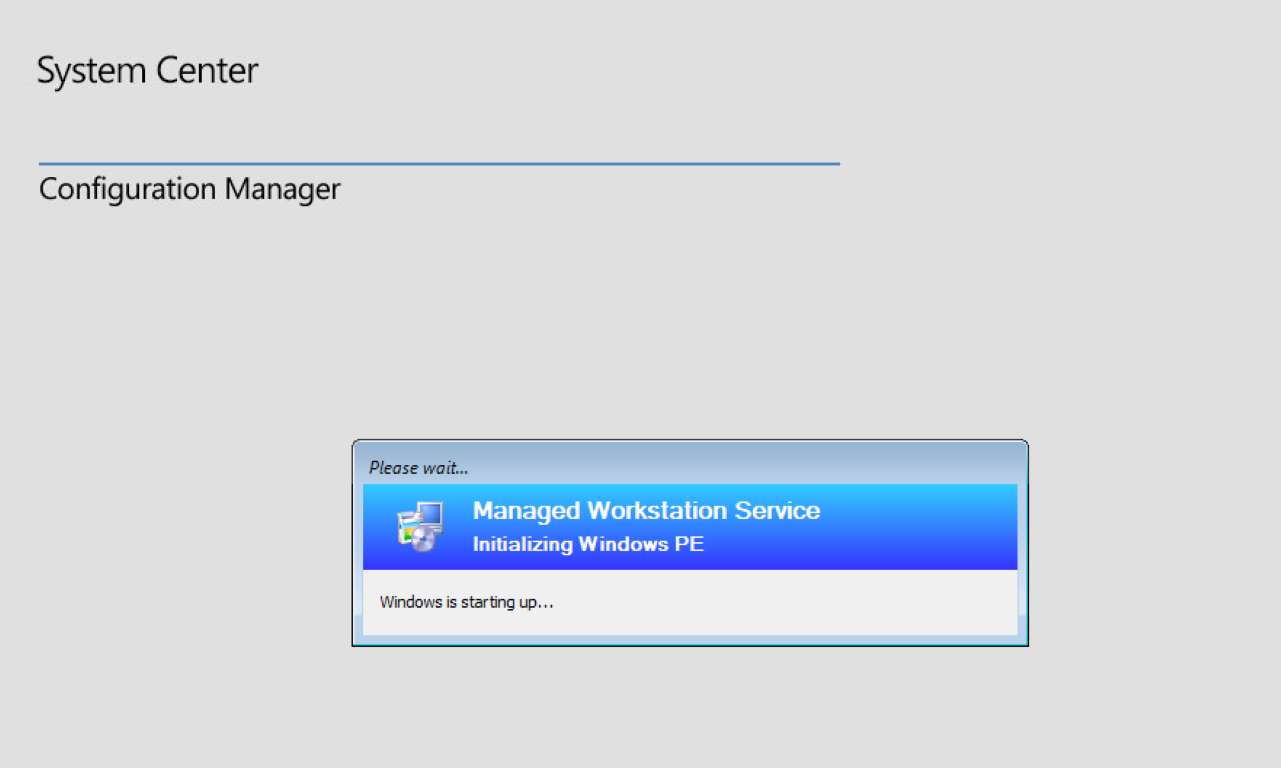
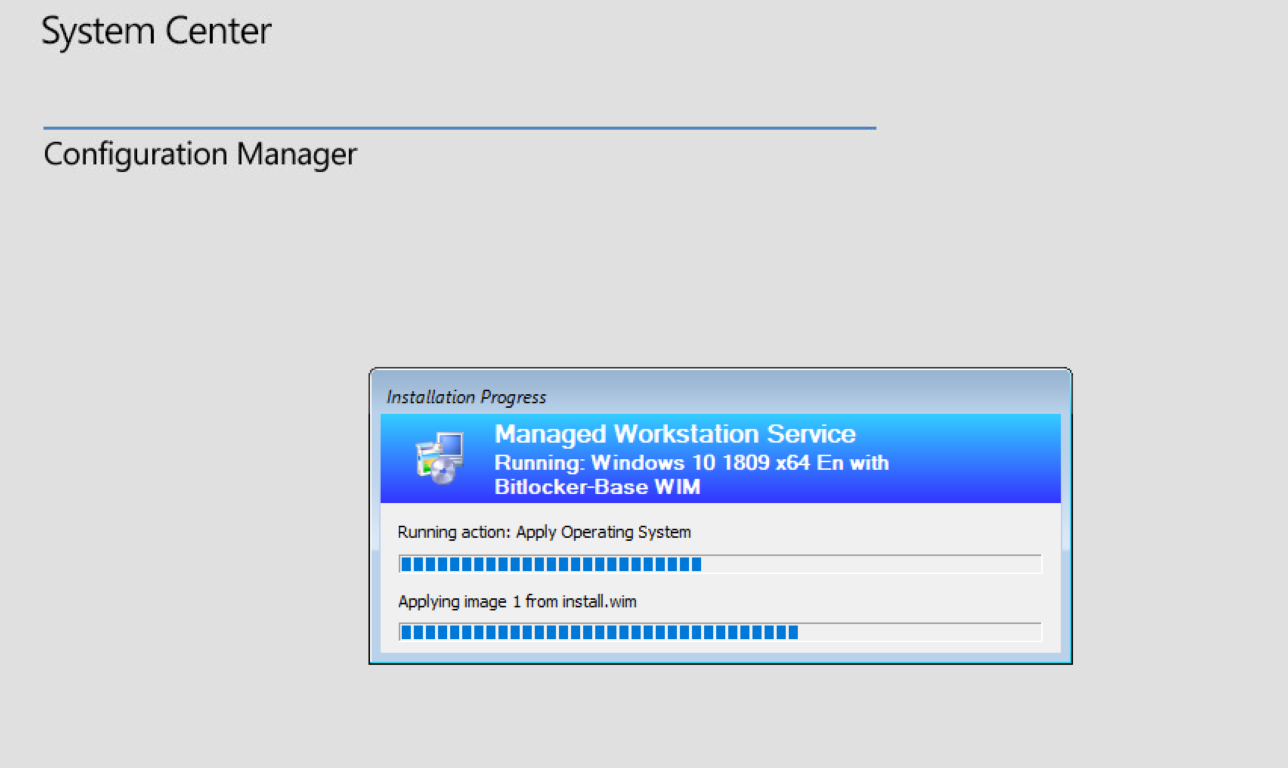
The screen below will appear and run for a few minutes.
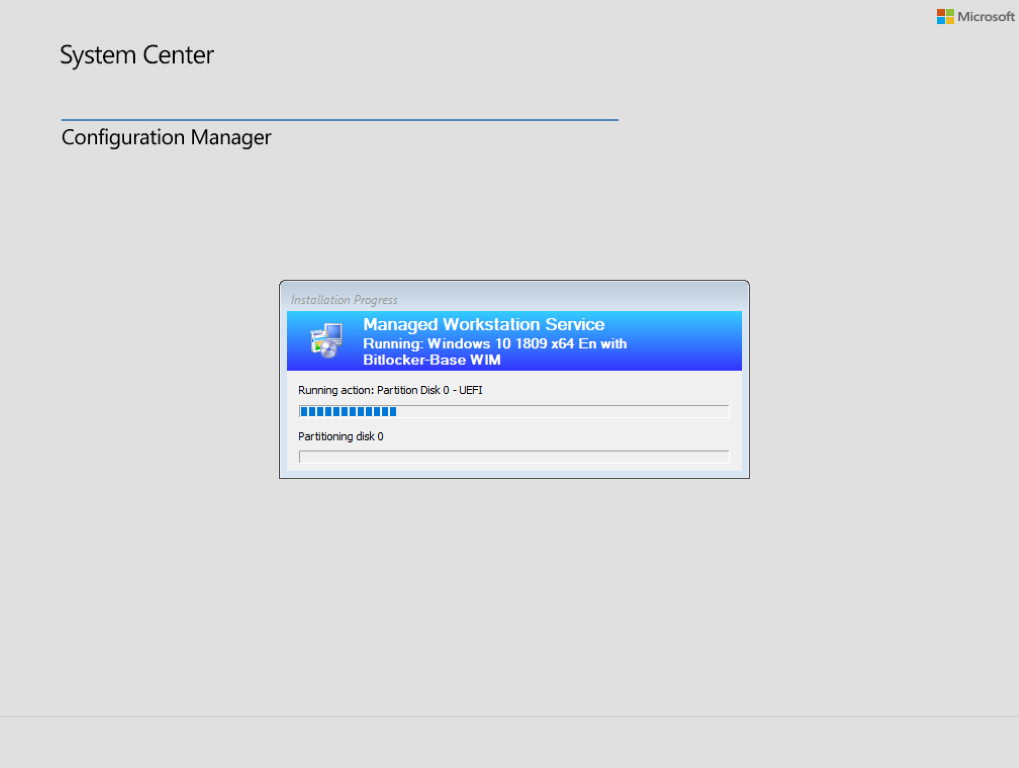
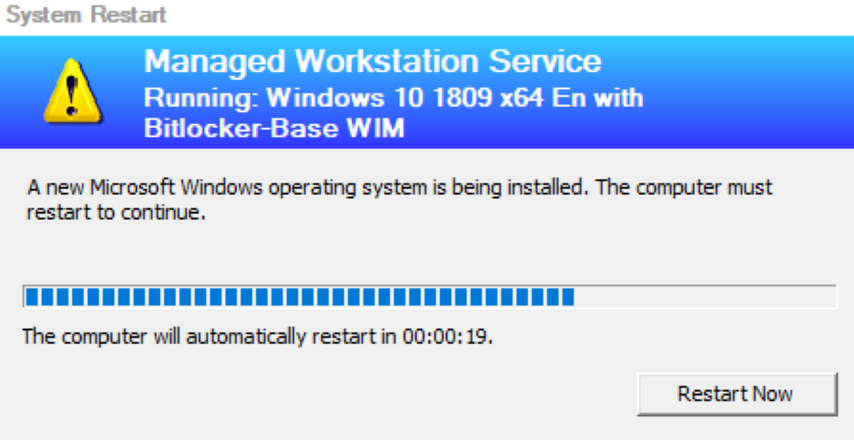
The imaging process begins. The operating system installer takes about 45-60 minutes (on a modern computer), depending on computer speed and network conditions. The computer may reboot several times. You will see below screens in order, it is not necessary to click any buttons during this process, the process will proceed automatically:

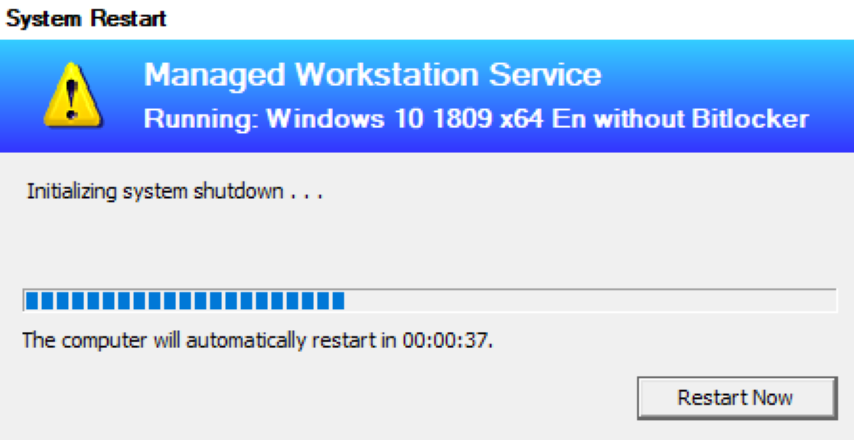

When the OS installation and domain join are completed, the process will install applications automatically. The application installation process will display the screens below so you can track progress. Applications installation will run around 25-35 minutes. After the application installation is complete, the computer will reboot automatically.

After application installation is complete, OSD will continue to run silently for a few minutes, with some reboots. After the last reboot, you will see the screens below in order.
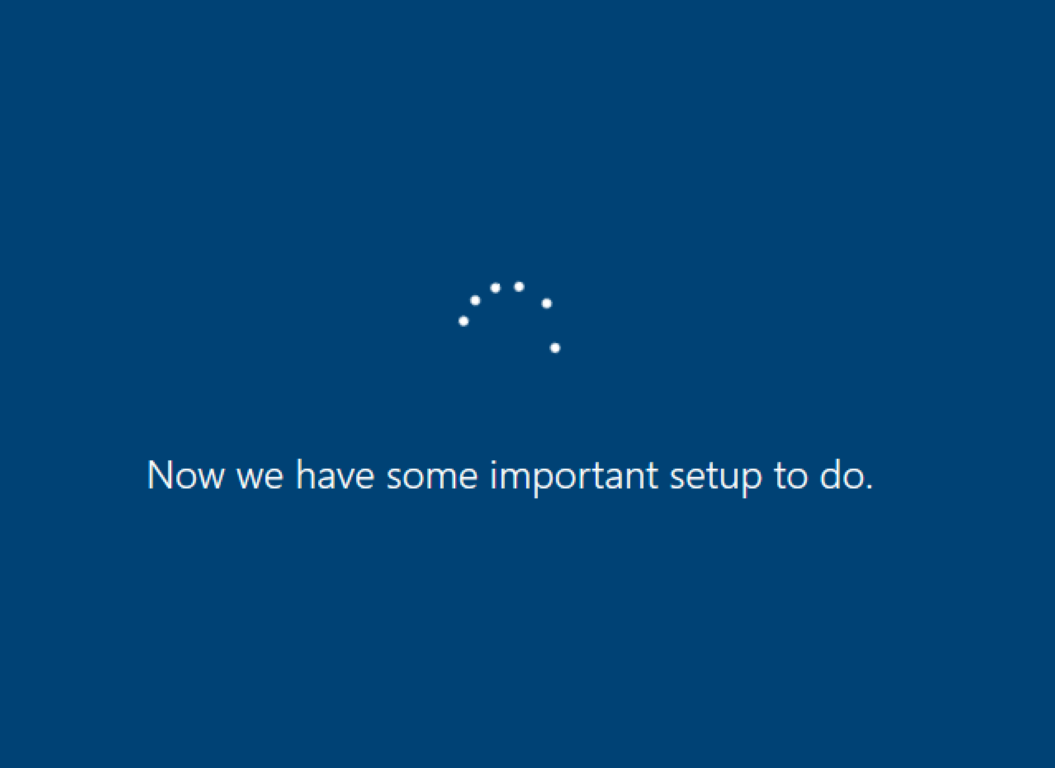

You can now use your Managed Workstation – you will be able to login with your UW NetID. The initial account setup should take 5 minutes or less to complete.
Note : Sophos will not be installed in this image initially, it will auto-install via Software Center in 20 minutes to 2 hours.
- Sophos: Sophos AntiVirus should automatically push out from the server and install on your computer within a couple of days. Verify that Sophos is installed: check for white and blue “S” shield in the System Tray next to the date/time on the computer. Right-click on shield and click “Update now”.
- Windows 10 comes with built in antivirus software and it is safe to wait for Sophos to auto-install
- Software Center should populate within 20 minutes to 2 hours after the computer has been joined to the domain.
- Windows Update: Click on the Start button/tile and then click the ‘gear’ icon from the menu. In the Windows Settings window, click on Update and Security then click the button ‘Check for updates’ Any Windows updates with be downloaded and installed. Your computer may need to be restarted after the Windows updates have been installed.
- Update BIOS from vendor website when a newer version is available.
The Task Sequence is failing due to disk size. This means that you have an issue with the partitioning or sometimes it is due to BitLocker encryption or the OEM Recovery Disk.
Fix
Clean and re-create the partitions using the following commands.
- Press F8 in order to open the cmd window and type the following commands:
- diskpart
- select disk 0
- clean
- convert gpt
- create partition efi size=300
- assign letter=k (or any available letter you want, aside from C)
- format quick fs=FAT32
- create partition msr size=128
- create partition primary
- assign letter=c
- format quick fs=NTFS
- exit
- Restart and attempt to run the Task Sequence again
A client record exists for this computer so there are no task sequences available. This most often occurs when the computer is being rebuilt.
Fix
Send an email to help@uw.edu and report the error – MWS staff can remove the existing client record.